Box Base and Device Holder
Next, we need to make a base for the lamp box (we need to ensure air can enter our box) as well as a holder for the device.
1. Cut the acrylic piece
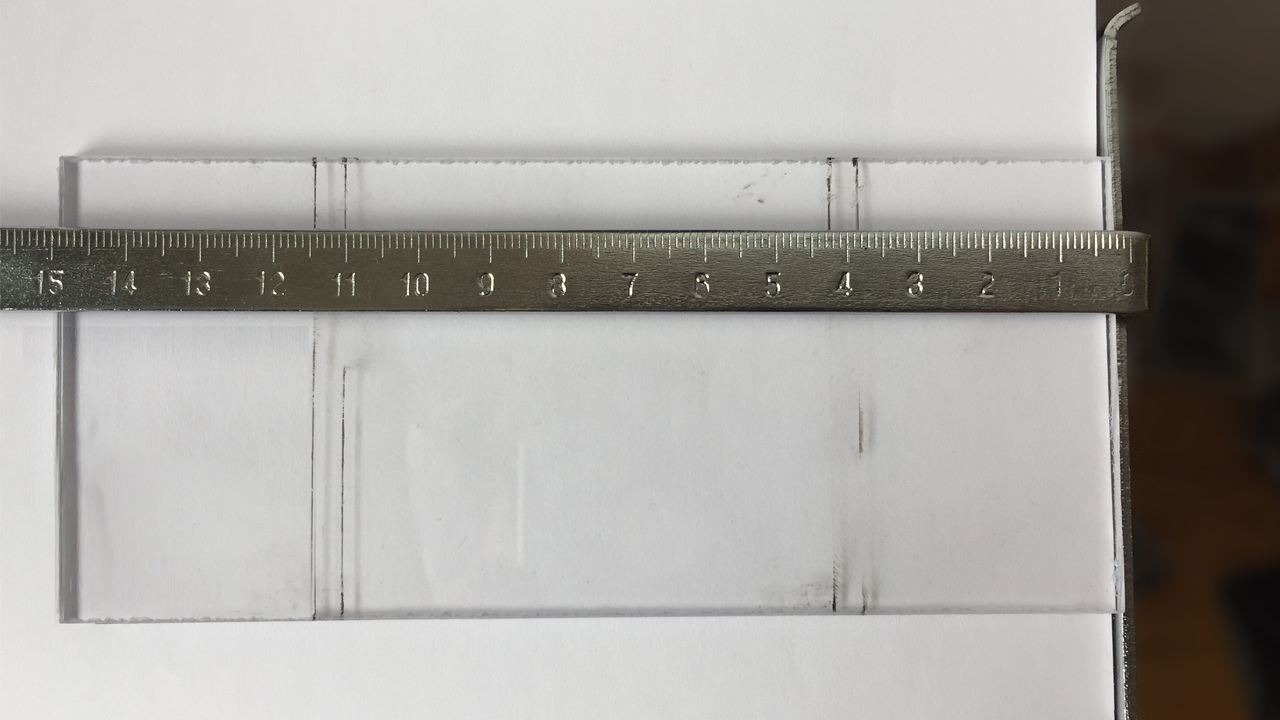
Cut a 15 x 6.5 cm piece of acrylic. Remove the plastic film from both sides.
2. Place it over the top part
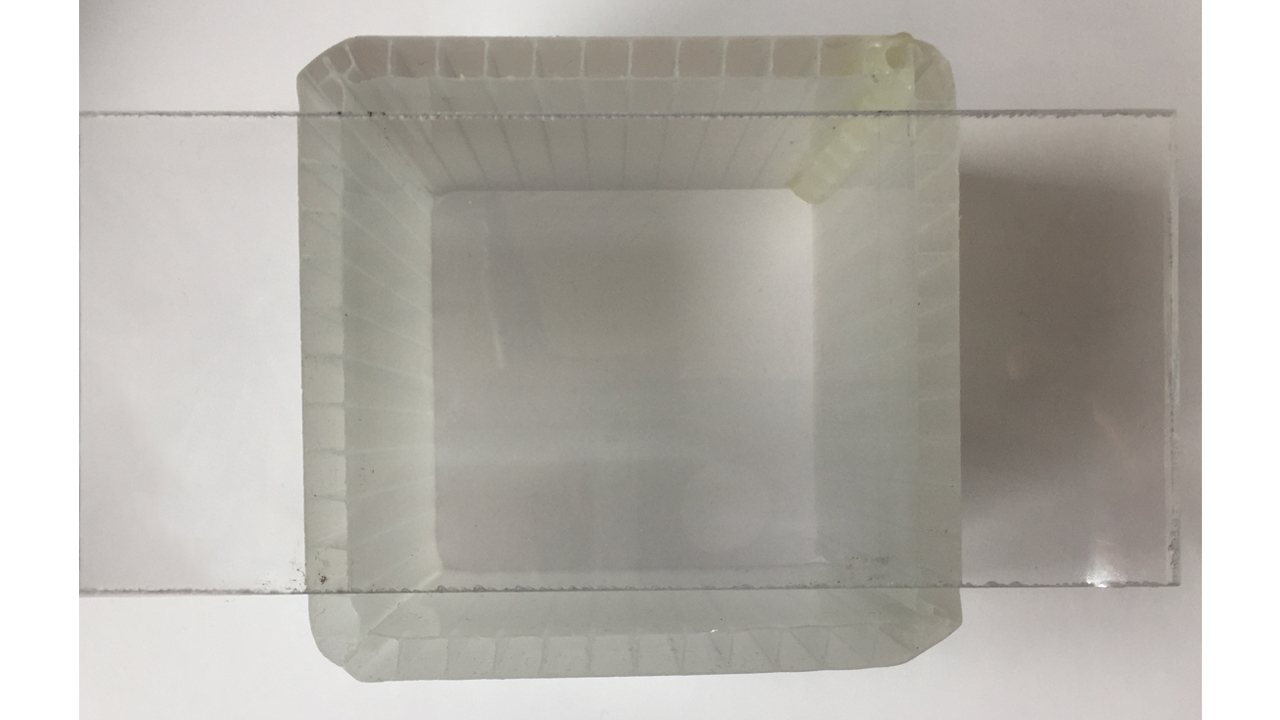
Place it over the top part of the lamp box as shown in the picture.
3. Draw a guideline
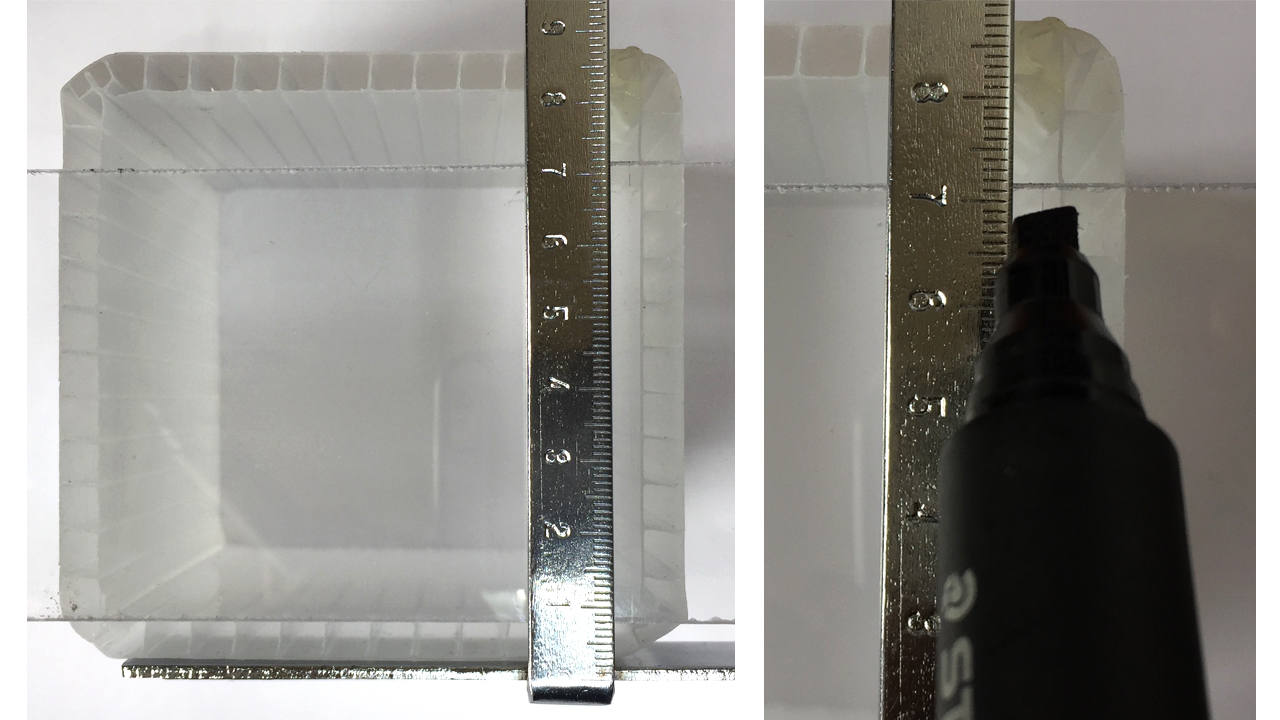
Using a ruler and washable marker, draw a thick 4 mm line (make sure that the drawn line touches the inside of the lamp box as shown in the picture).
4. Repeat
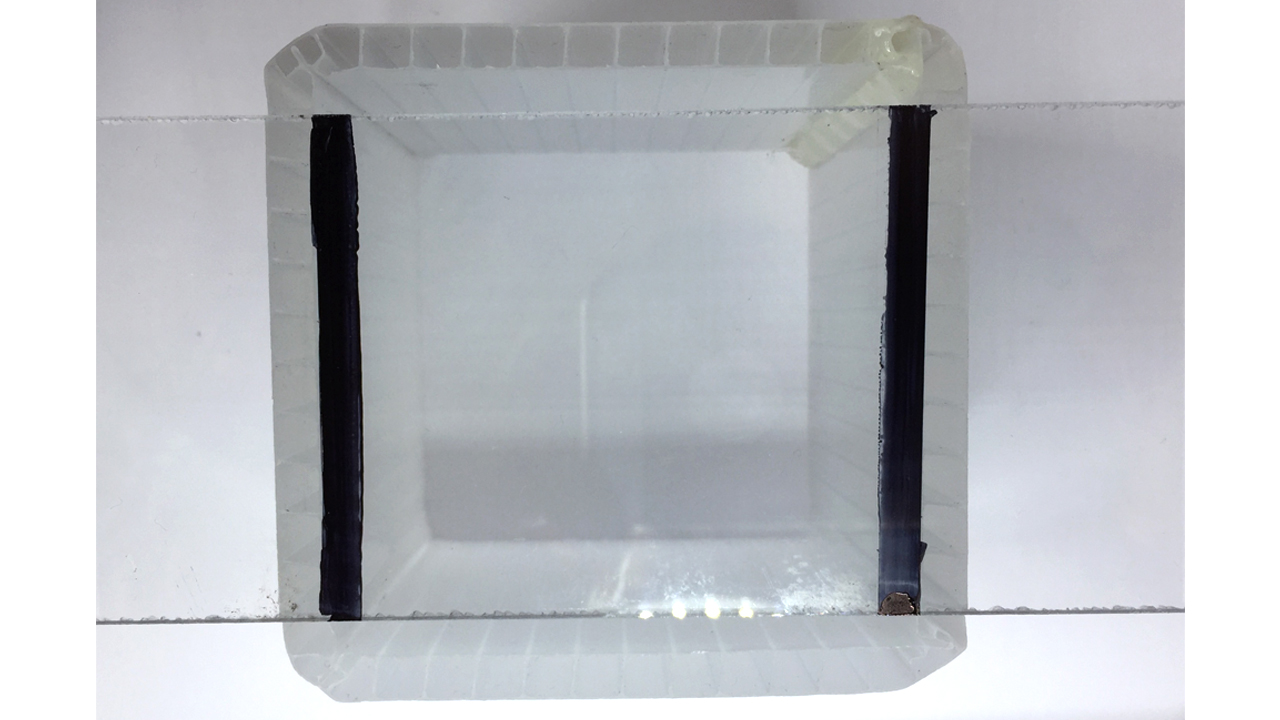
Repeat the same process on the other side. Meanwhile, turn on your heat gun and set it to 300°C degrees. Let it slowly heat up while you prepare everything in the next step.
Set your heat gun to 330C and use a medium-sized tip.
5. Fixing the piece to table
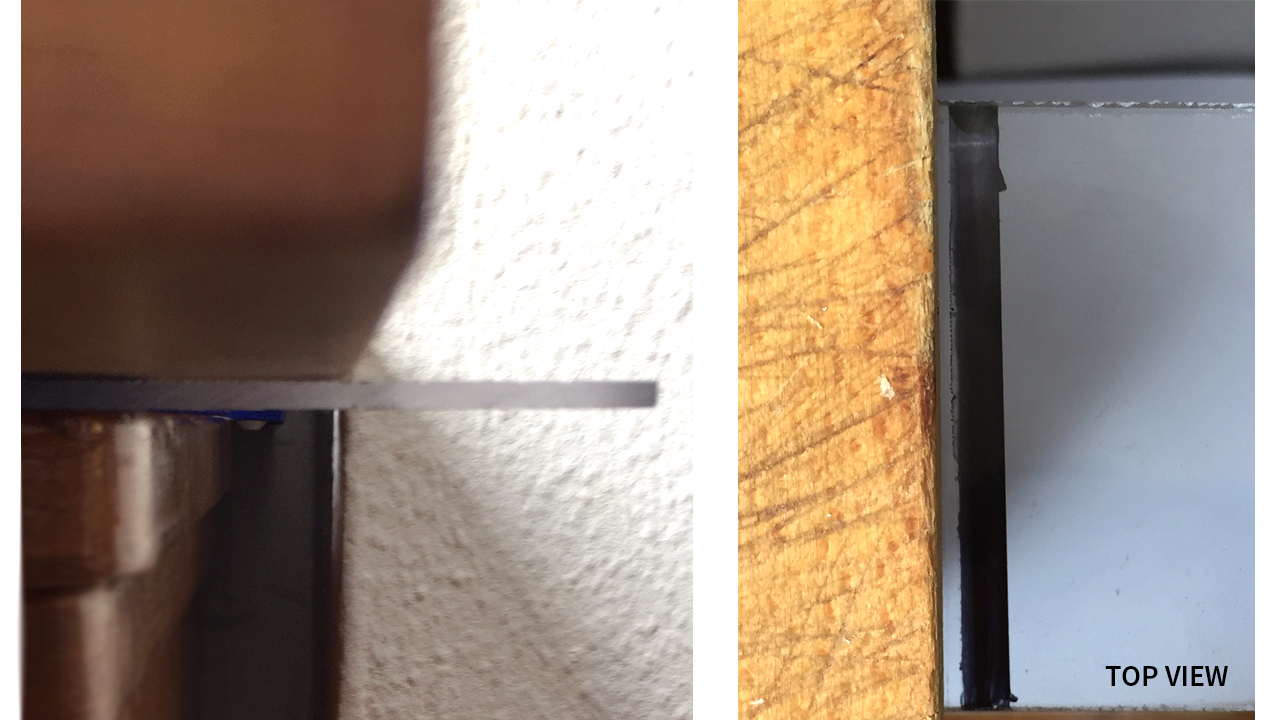
While the heat gun is getting ready, place the acrylic piece on your work table. Grab any flat, heavy item you can find (wooden board in our case) and place it atop of the acrylic. Let one edge of the acrylic piece hang off the table edge, lined up with the drawn line, as shown in the picture above.
This will make sure that your acrylic is fixed and will not be moving when doing the following steps.
6. Heat gun
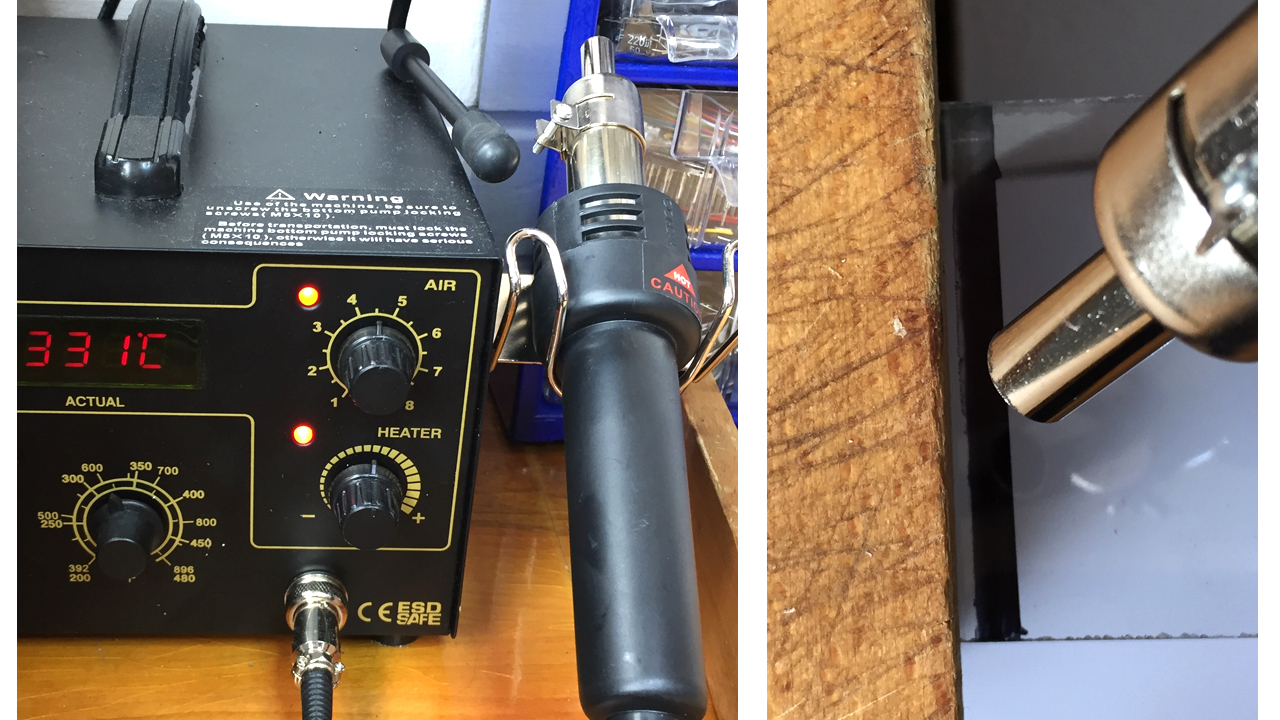
Next up, using your heat gun. By only heating up the black line (go back and forth evenly to avoid melting for about 5 minutes), the piece should start bending downwards because of gravity.
8. Bend the piece
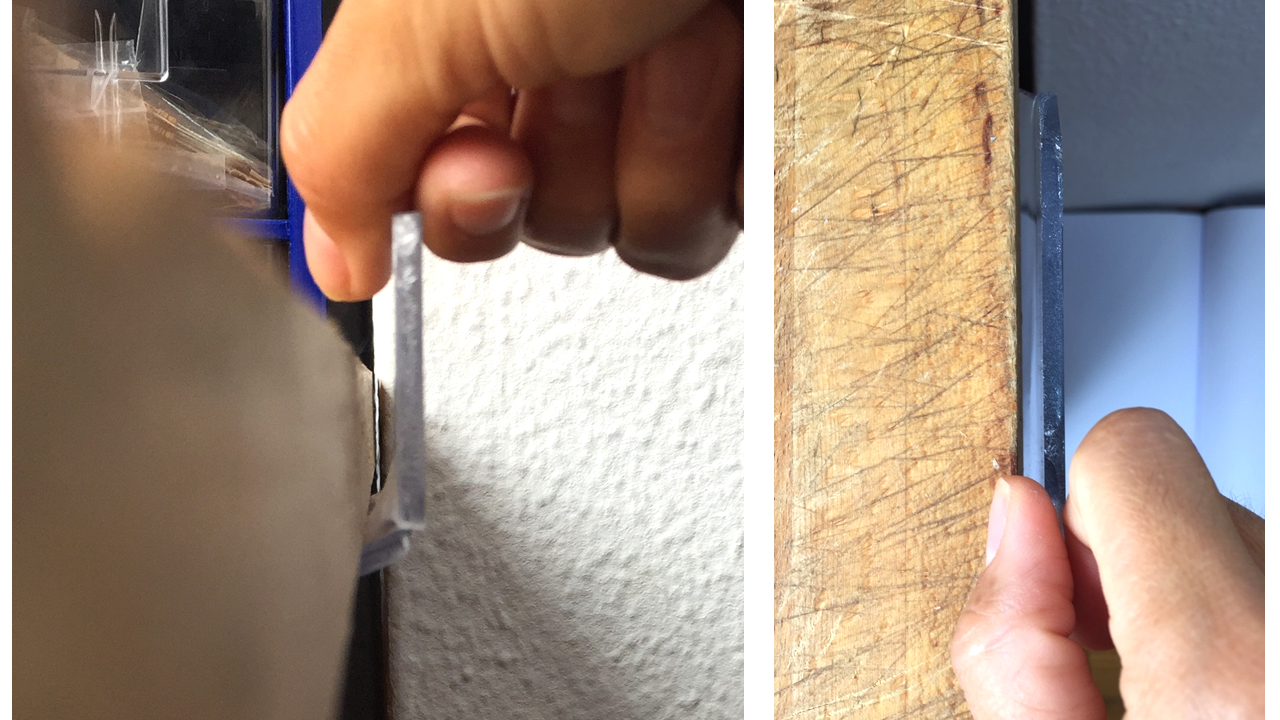
When it starts bending, grab the edge and bend it upwards until it is parallel with the edge of the table and, in our case, heavy wooden board.
If the piece is too hot, you can use a potholder. Keep holding it in place until it cools and hardens a bit.
9. Repeat melting and bending
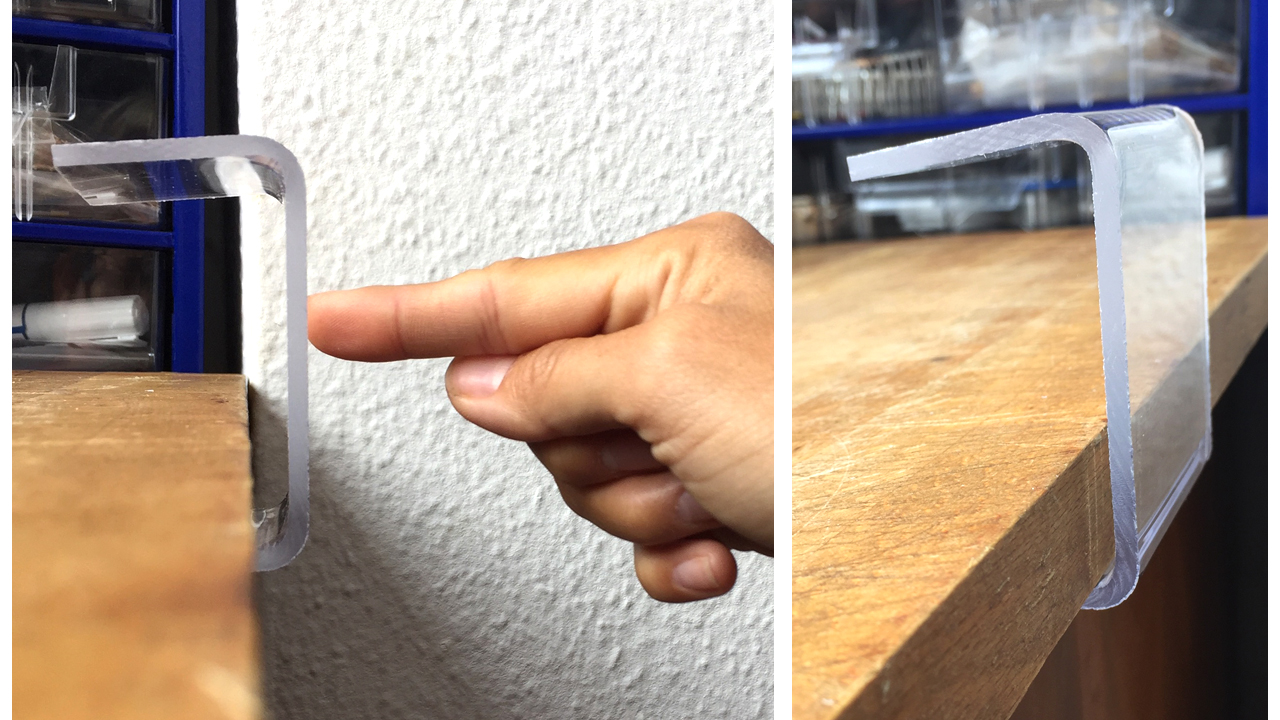
Slide the acrylic piece to the second black line and repeat the melting and bending process on the other side as well.
10. Fitting base with the box
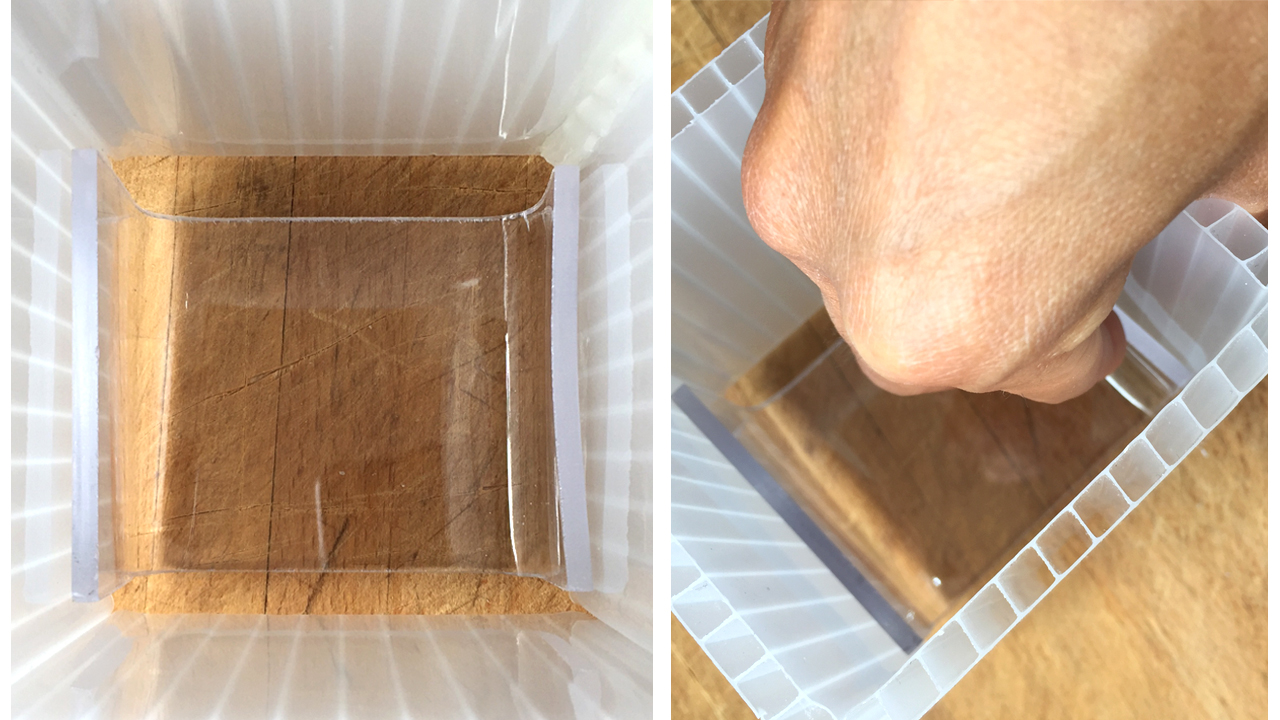
While it is still bendable, quickly place the holder into the lamp box made earlier.
Align the edges so that they are parallel with the box sides and they fit perfectly inside.
After aligning it, remove it as soon as possible so that the material of which lamp box is made does not start to melt.
Let the base completely cool.
11. Last touches
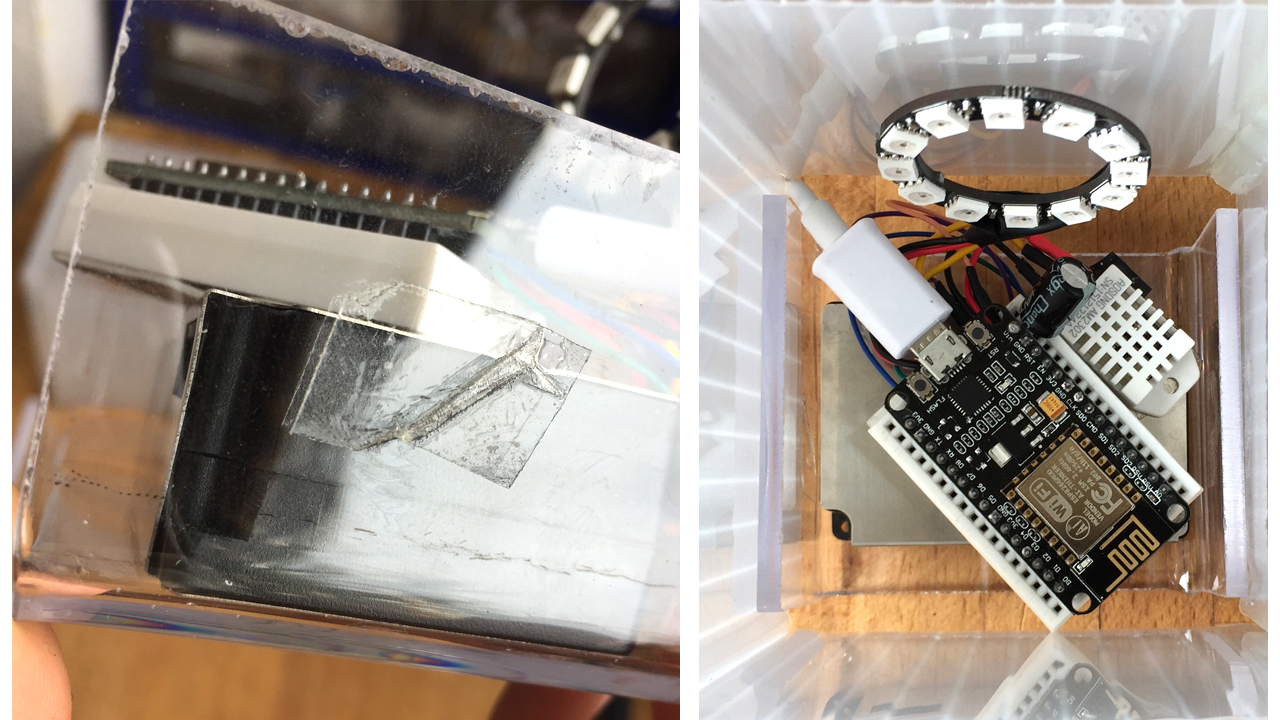
Double-sided tape on one side of the base (left) along side an assembled device inside of the lamp box (right)
After cooling, put double-sided tape on sides of the base, as well as on the bottom side of your PM sensor. This way, you can stick your PM sensor to the base and ensure it stays inside.
Once it is placed properly, place the base along with everything inside of the lamp box. Squeeze the double-sided tape on the sides so that it sticks to the walls.
12. Final look
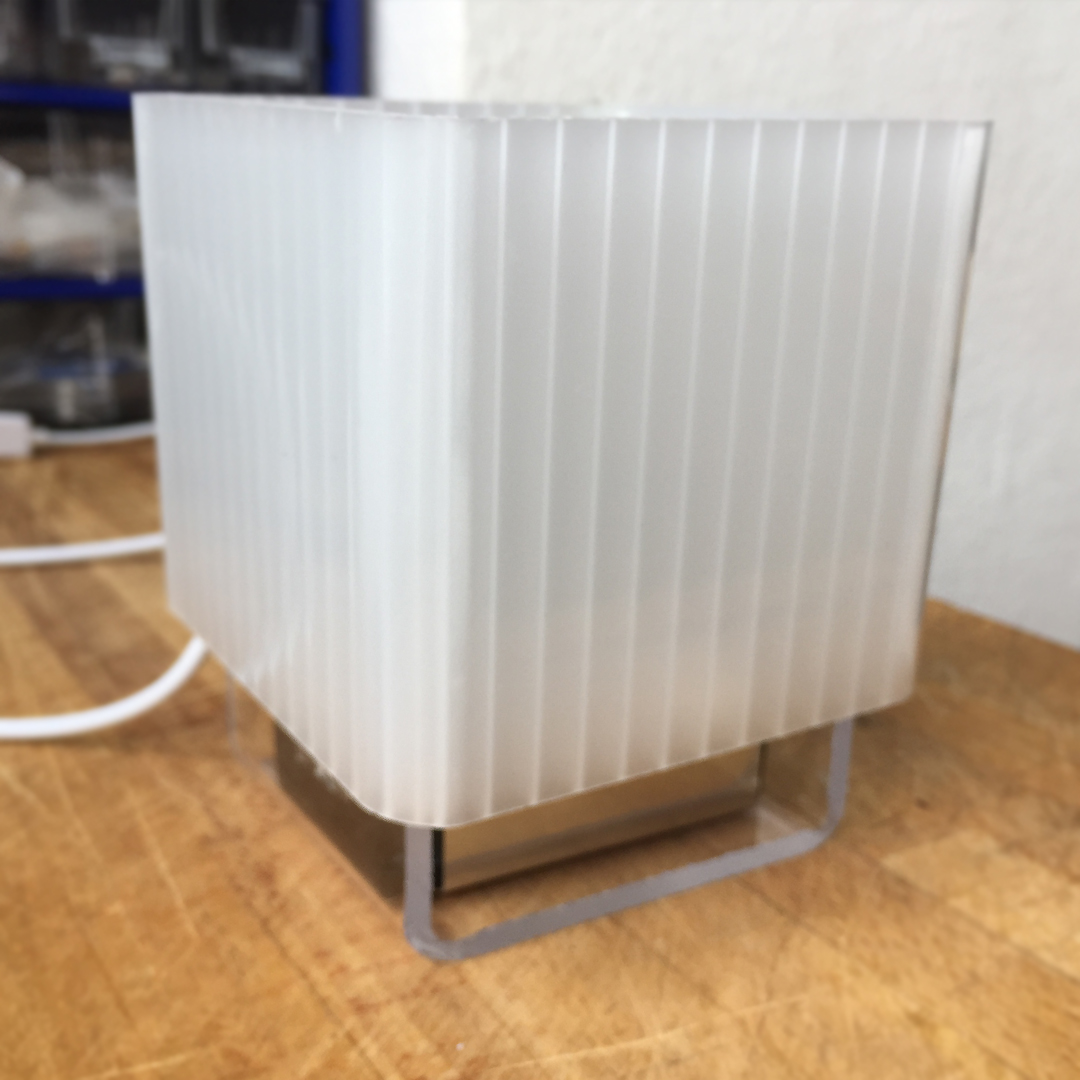
Congrats, you just finished your lamp box!
Now that you have everything set and running, continue with the next step and connect your awesome, new device to the CityOS Grid Cloud and start sharing your readings.
Updated almost 6 years ago
