3. Build and Upload
After you have configured Device.h, it is time to build and upload code to NodeMCU.
3.1. Build
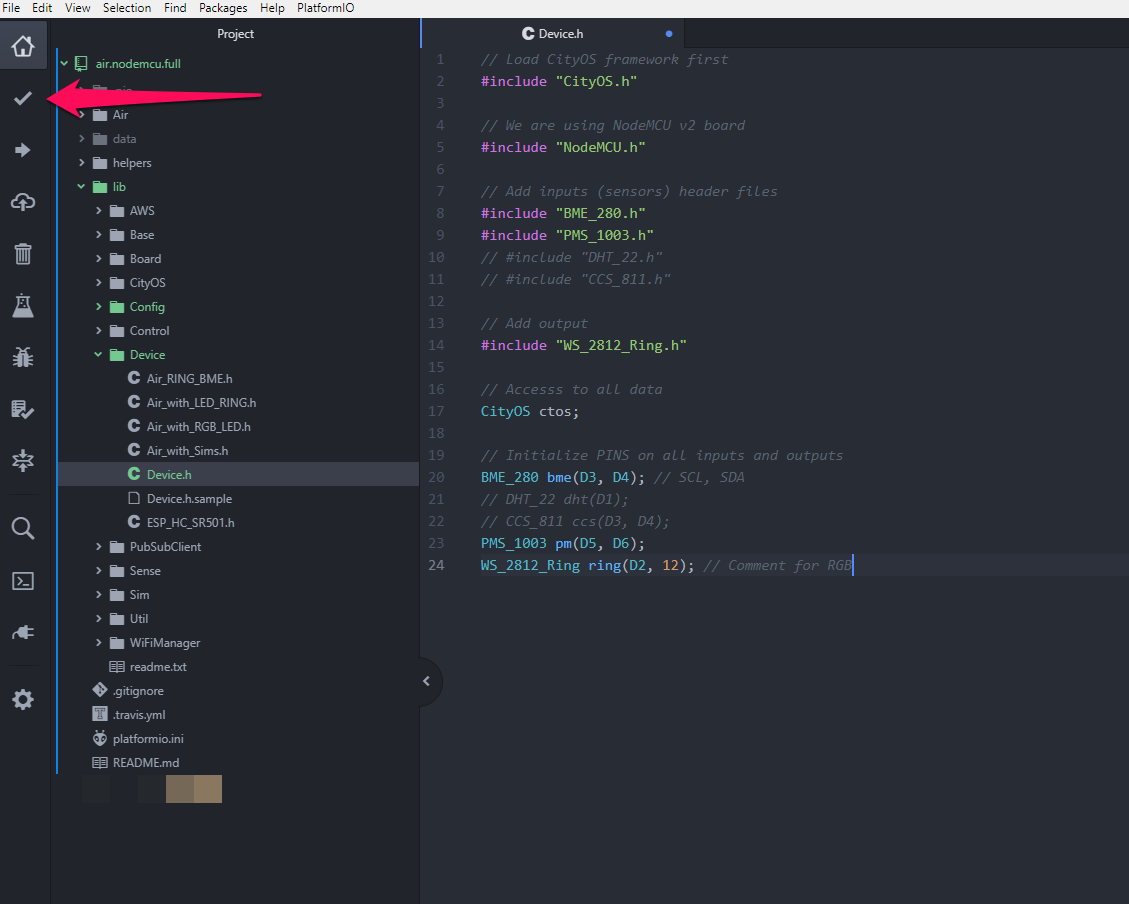
In order to build your project you can now click on the check button second from top left:

3.2. Upload
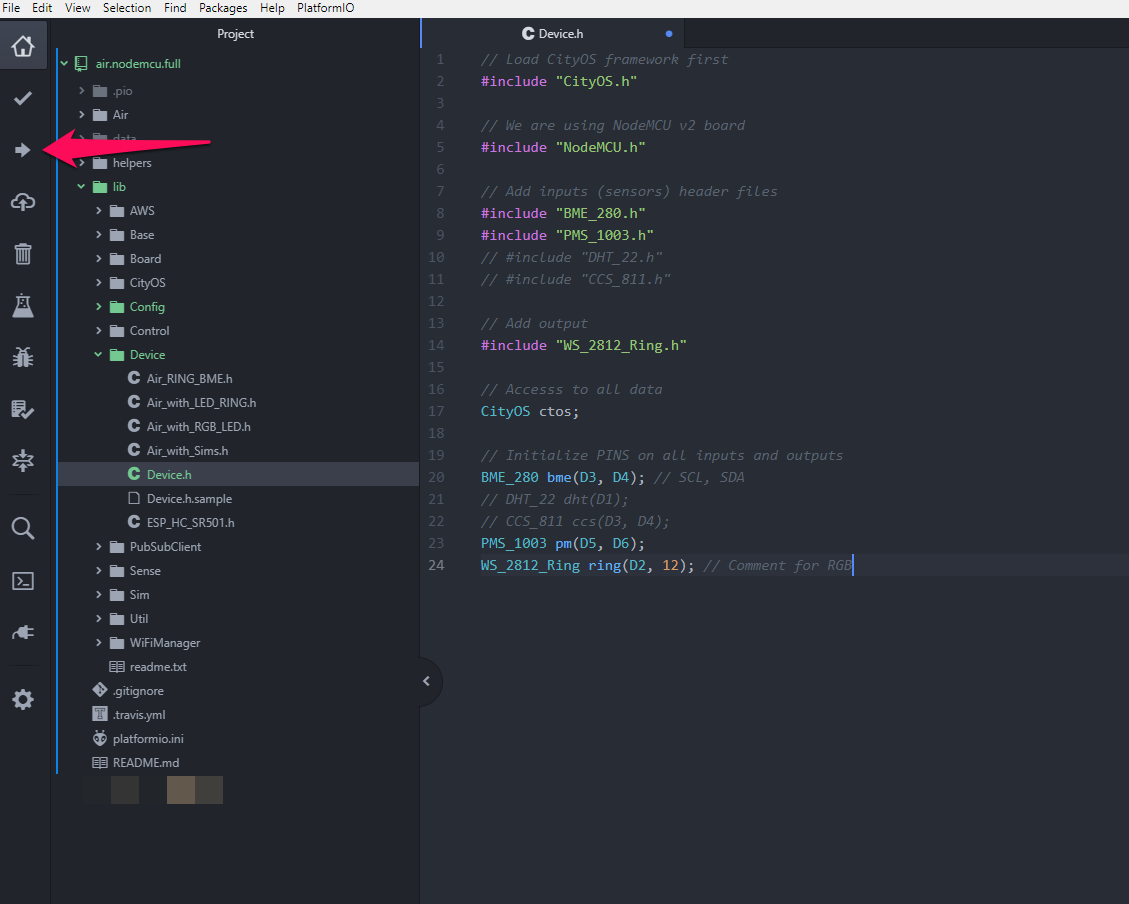
In order to upload your code to device click on arrow bottom third from the top on the left side:

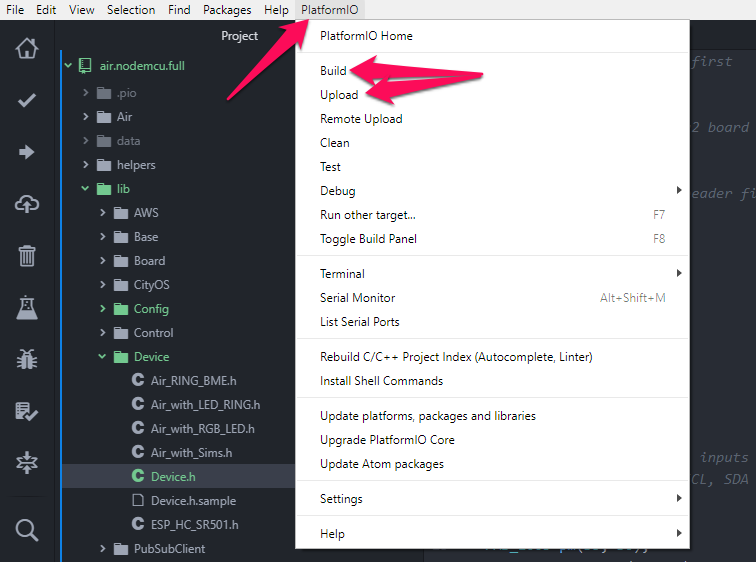
Additional ways to call on Build and Upload:

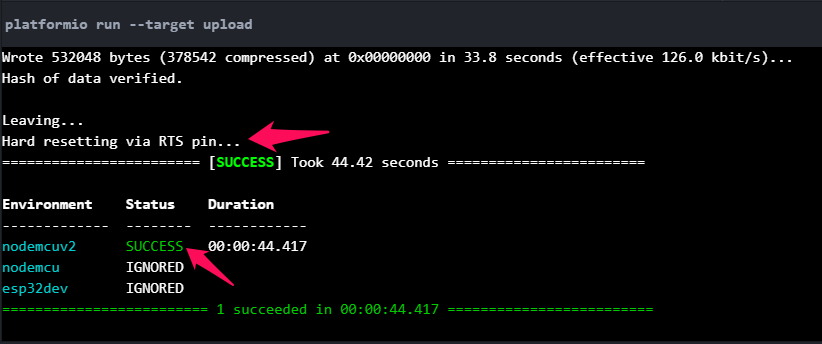
3.2. What does success look like?

And just like that you are done!
Updated almost 6 years ago
