4. Print a Boxy
After the model is prepared in Cura slicer it is time to print it.
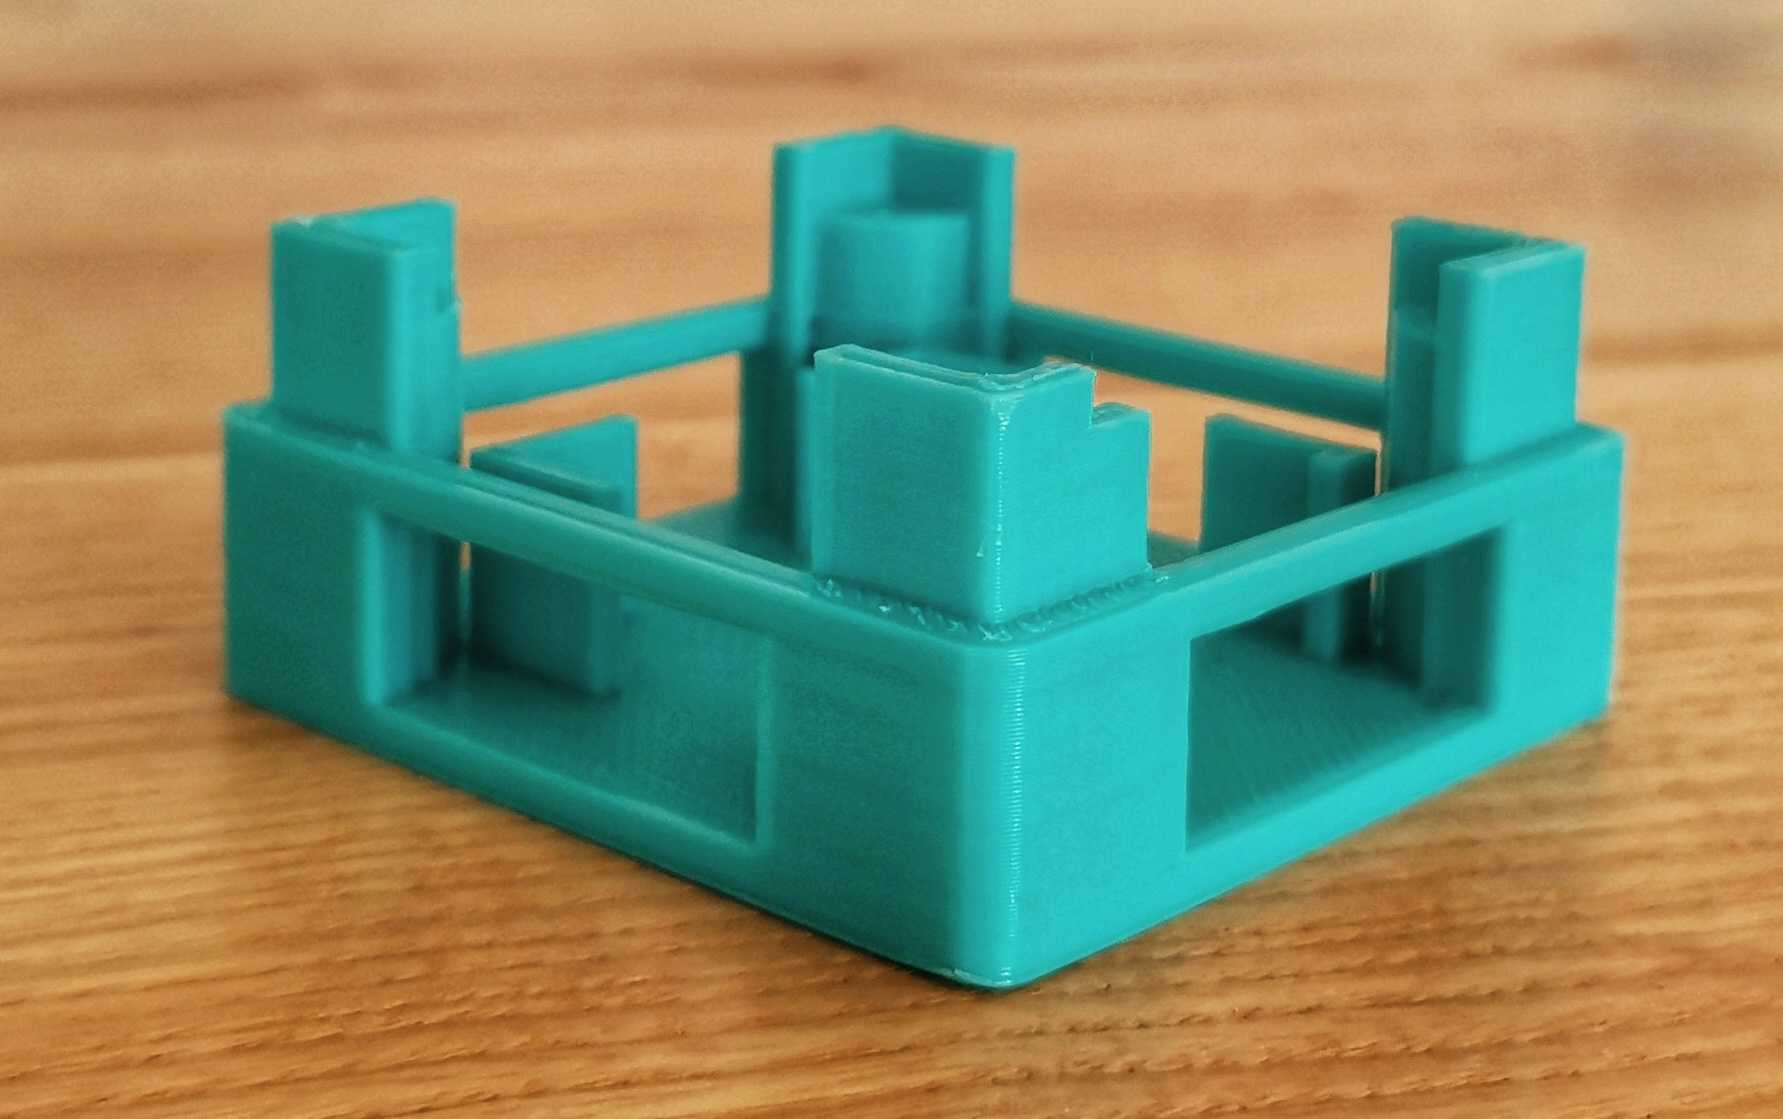
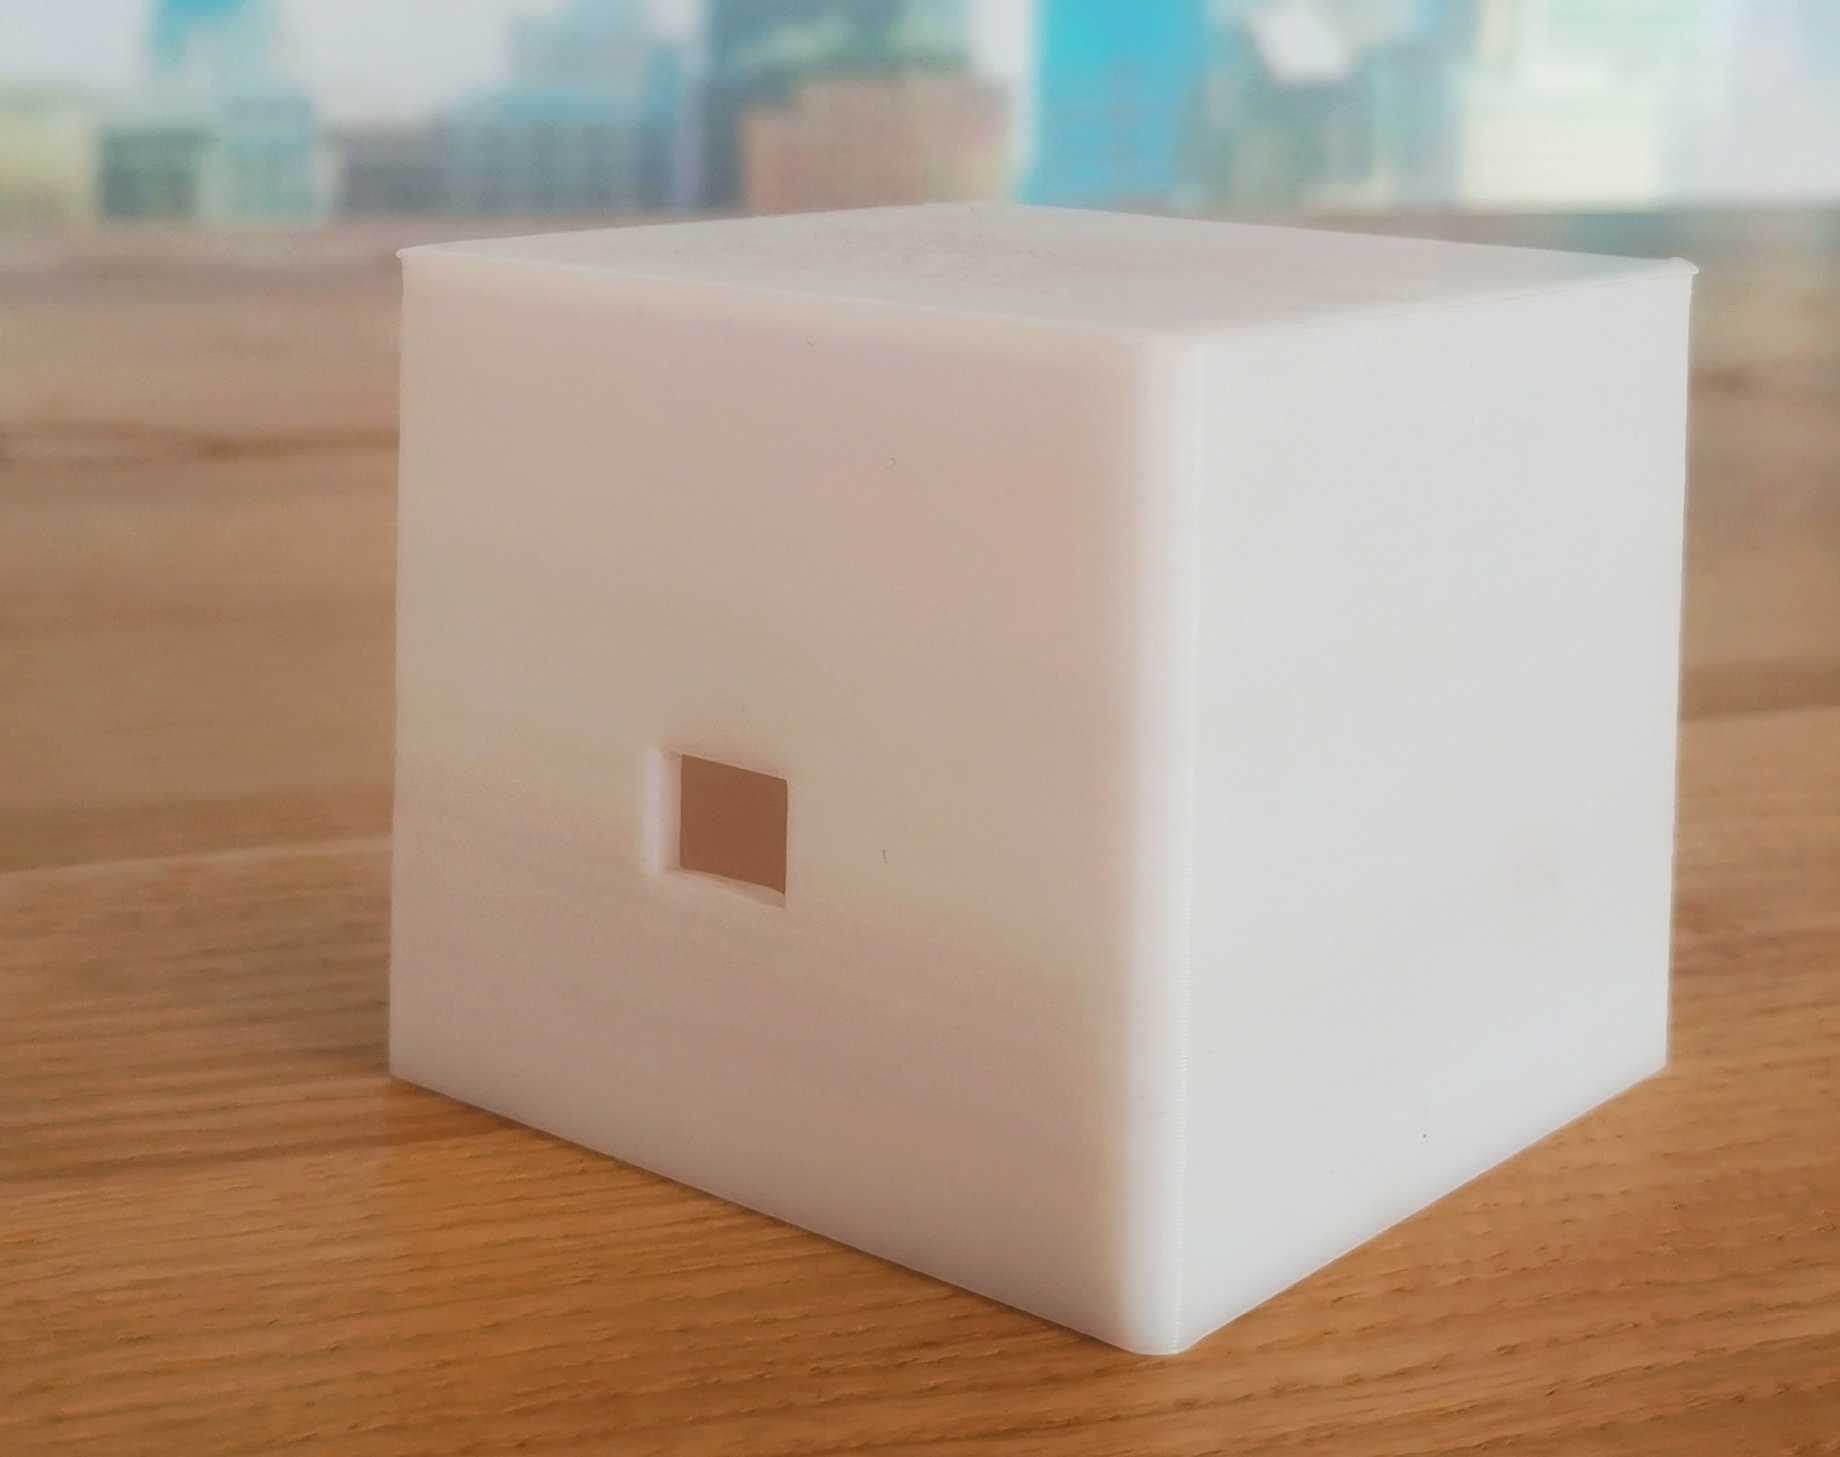
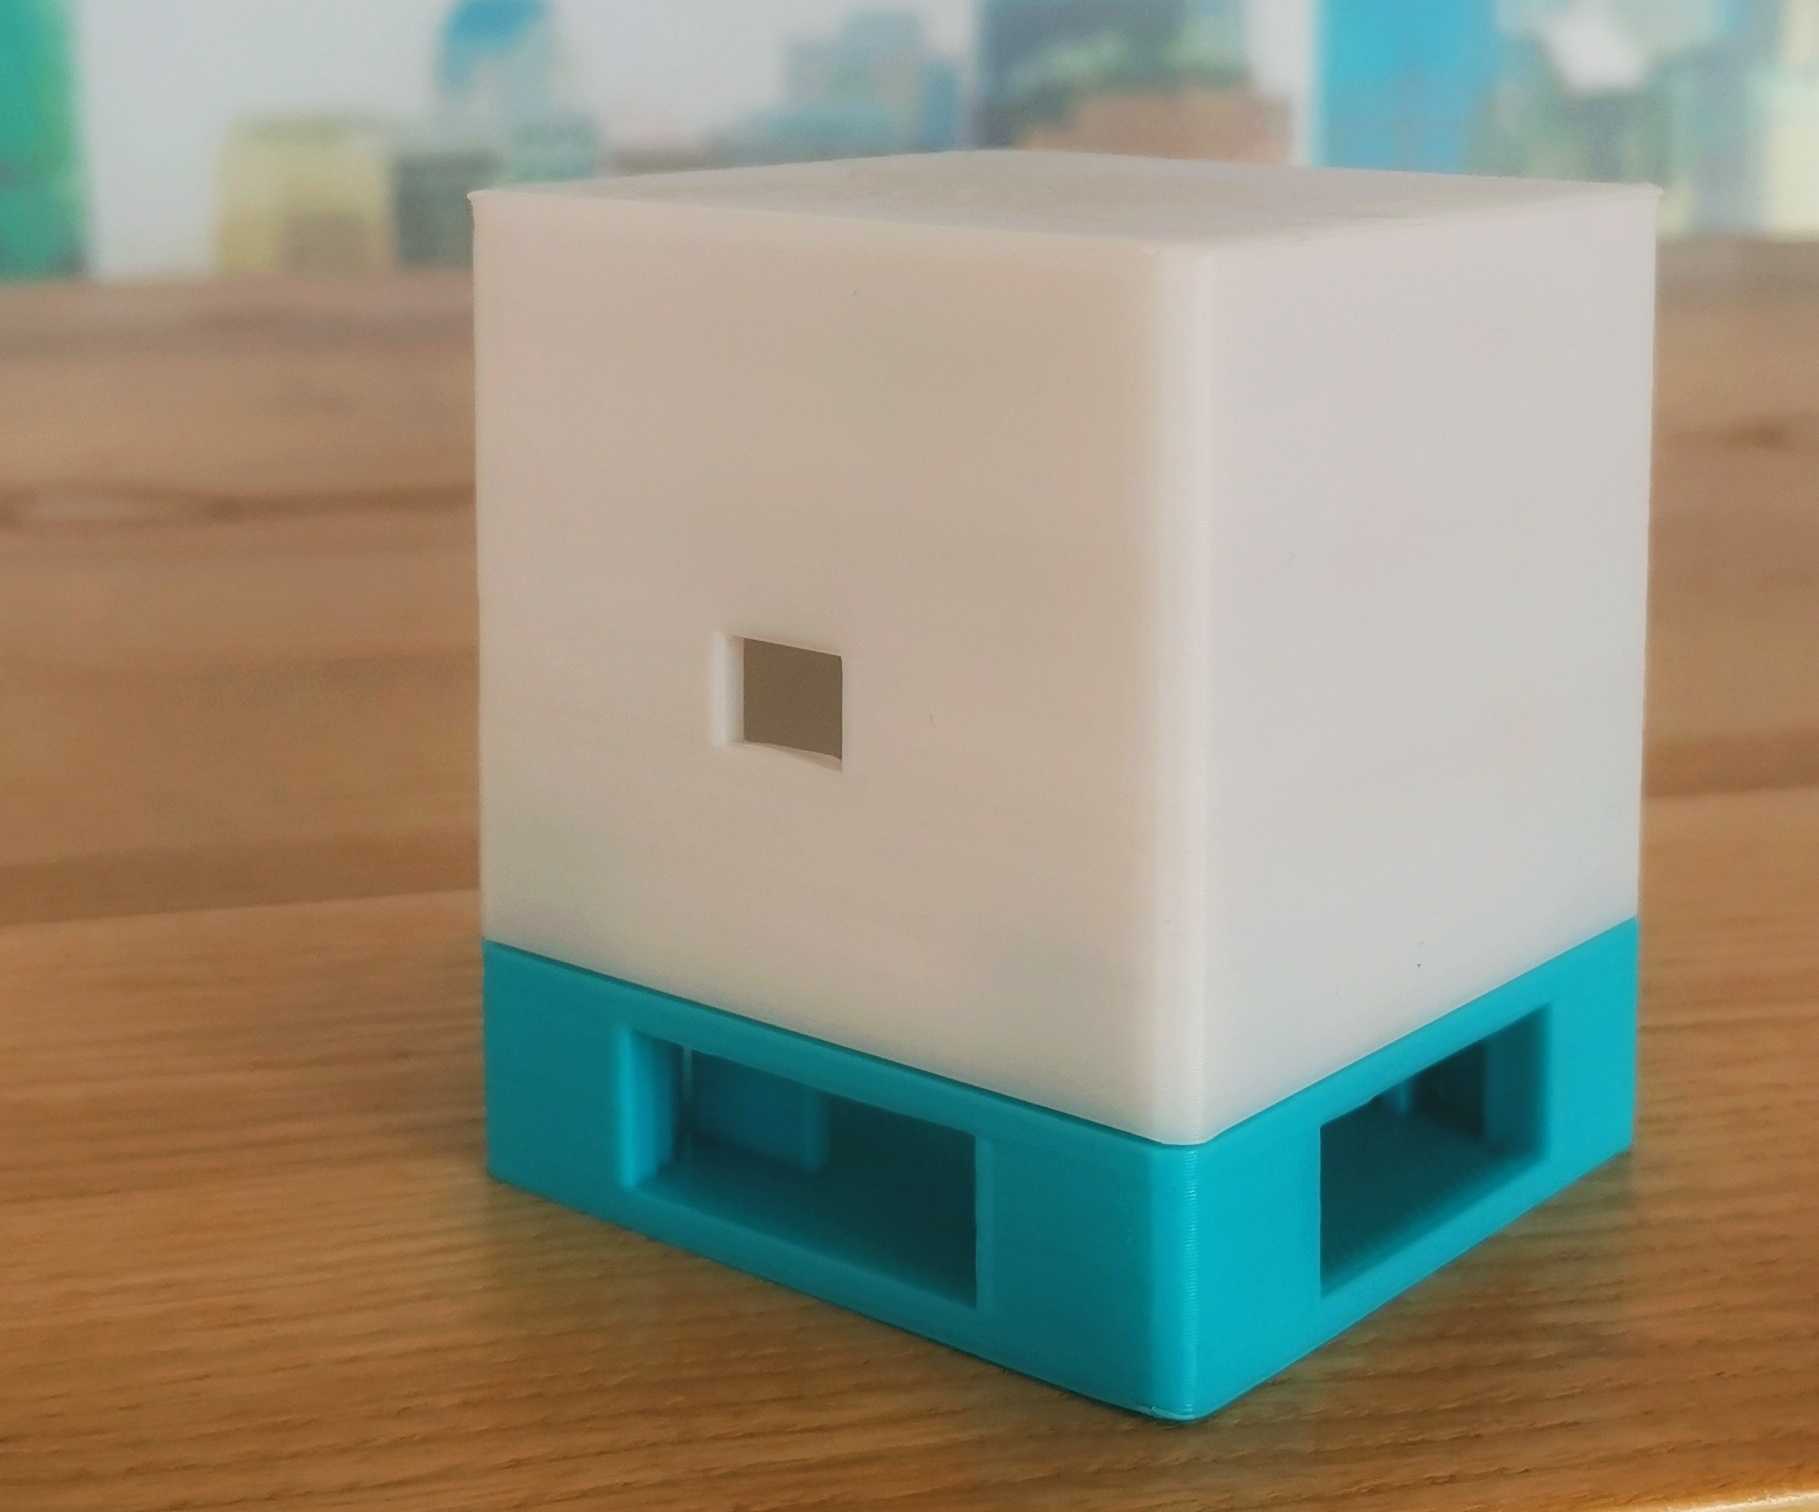
We have used LulzBot TAZ 6 3D printer, and it looks like in the pictures shown below.

Housing Bottom

Housing Cover

Complete Housing
Note
When printing the bottom and the cover of the housing, make sure that you do it on the same type of 3D printer using the same 3D slicer. This way you will avoid any possible differences between the two parts that may cause improper fitting.
Updated almost 6 years ago
What’s Next
