1. Upload Certificates
Connect NodeMCU
Before you continue with this part of the tutorial, please plug in NodeMCU into your laptop/PC using USB cable.
In order for a device to be able to send data to the server, it needs to have appropriate certificate files uploaded to it. This is done by utilizing SPIFFS File System on ESP8266 microcontroller. You can read more about it here.
1.1. Obtain Certificates
You can obtain certificates for our system by contacting us at [email protected]
Multiple devices
If you have more than one device then each device needs different certificates.
1.2. Create Data Folder
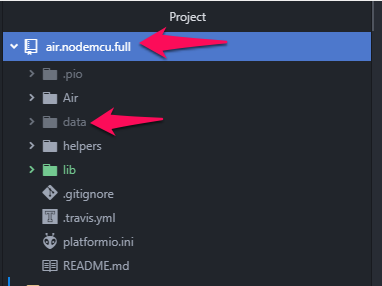
After you have downloaded them, open our project in Atom (as explained here). Right-click on the project folder, choose "New Folder" and create a folder named "data". This folder should be in the root folder of the project, just like it is shown in the picture below.
1.3. Extract Certificates to Data Folder
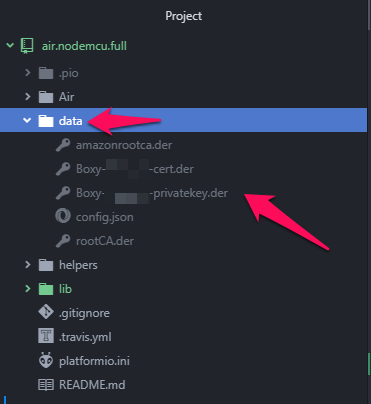
After you have created the "data" folder, use your favorite extraction tool to extract certificates to the "data" folder.
After extraction, the "data" folder should look like this.
1.4. Upload Certificates to NodeMCU
After you have extracted certificates, it is now time to upload them to NodeMCU.
In the bottom left corner of PlatformIO (Atom), there is a button that by default shows "PIO Build".
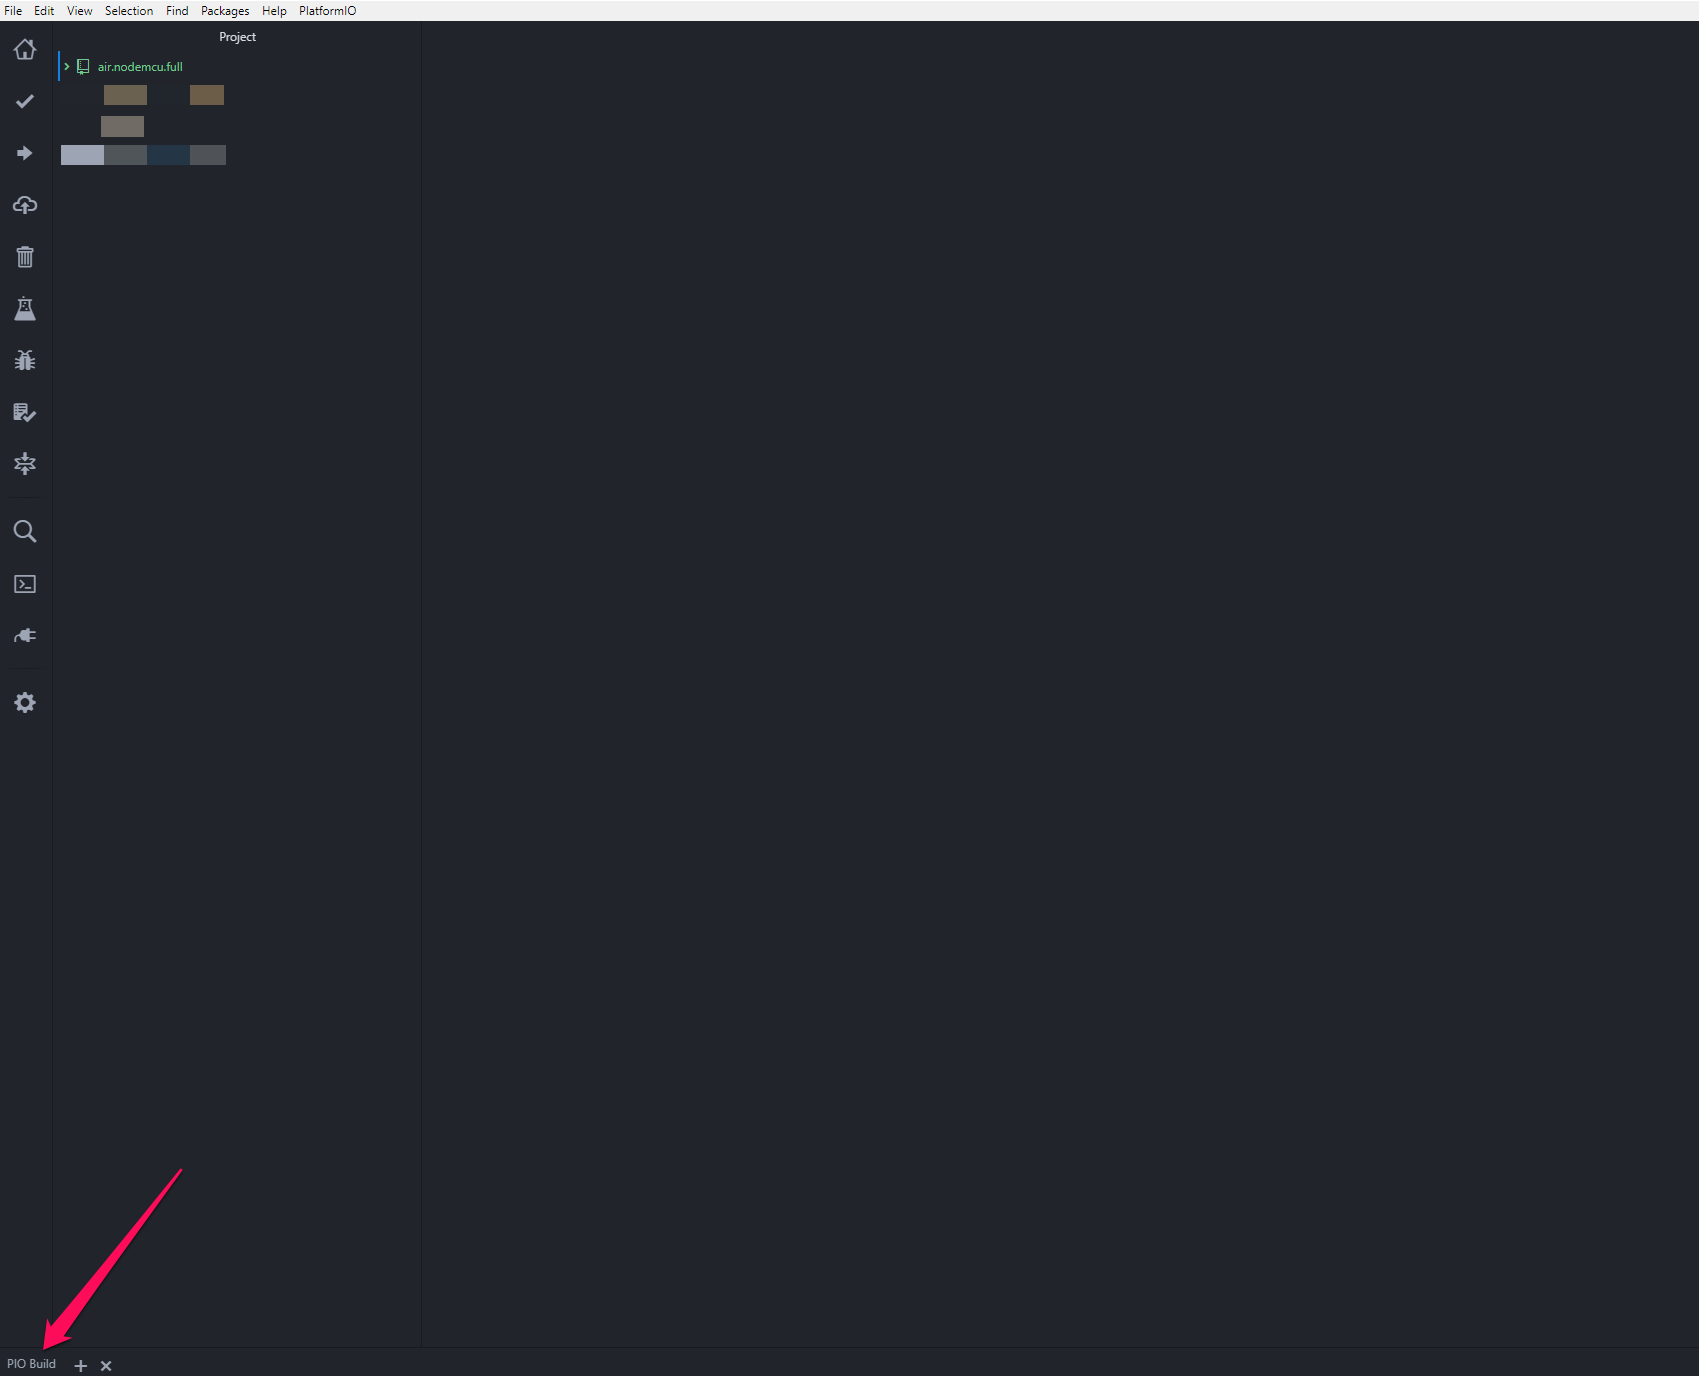
Click on it.
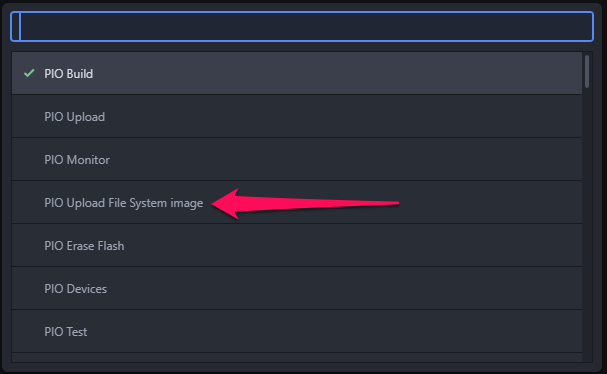
The following window will pop up.
Click on "PIO Upload File System image".
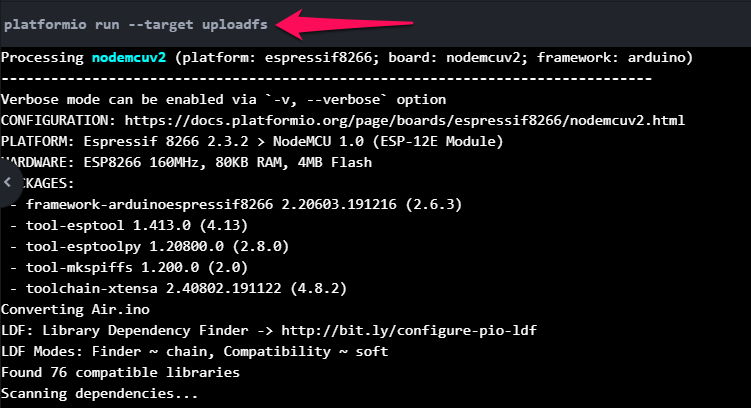
After you click on it, the following command should run automatically in PlatformIO terminal.
1.5. What does success look like?
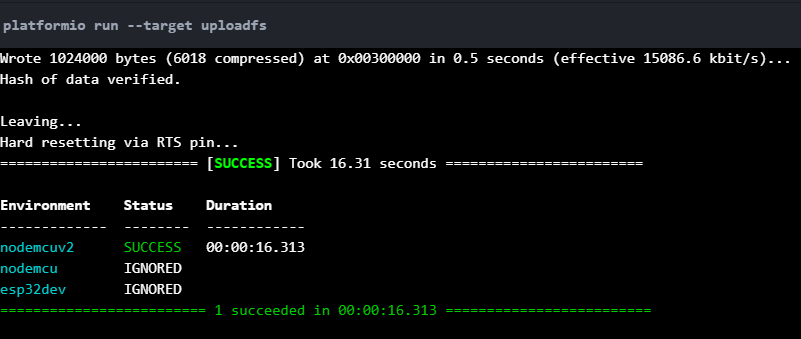
If everything went fine, you should see this output in the terminal:
Updated almost 6 years ago
