1. Place PM sensor
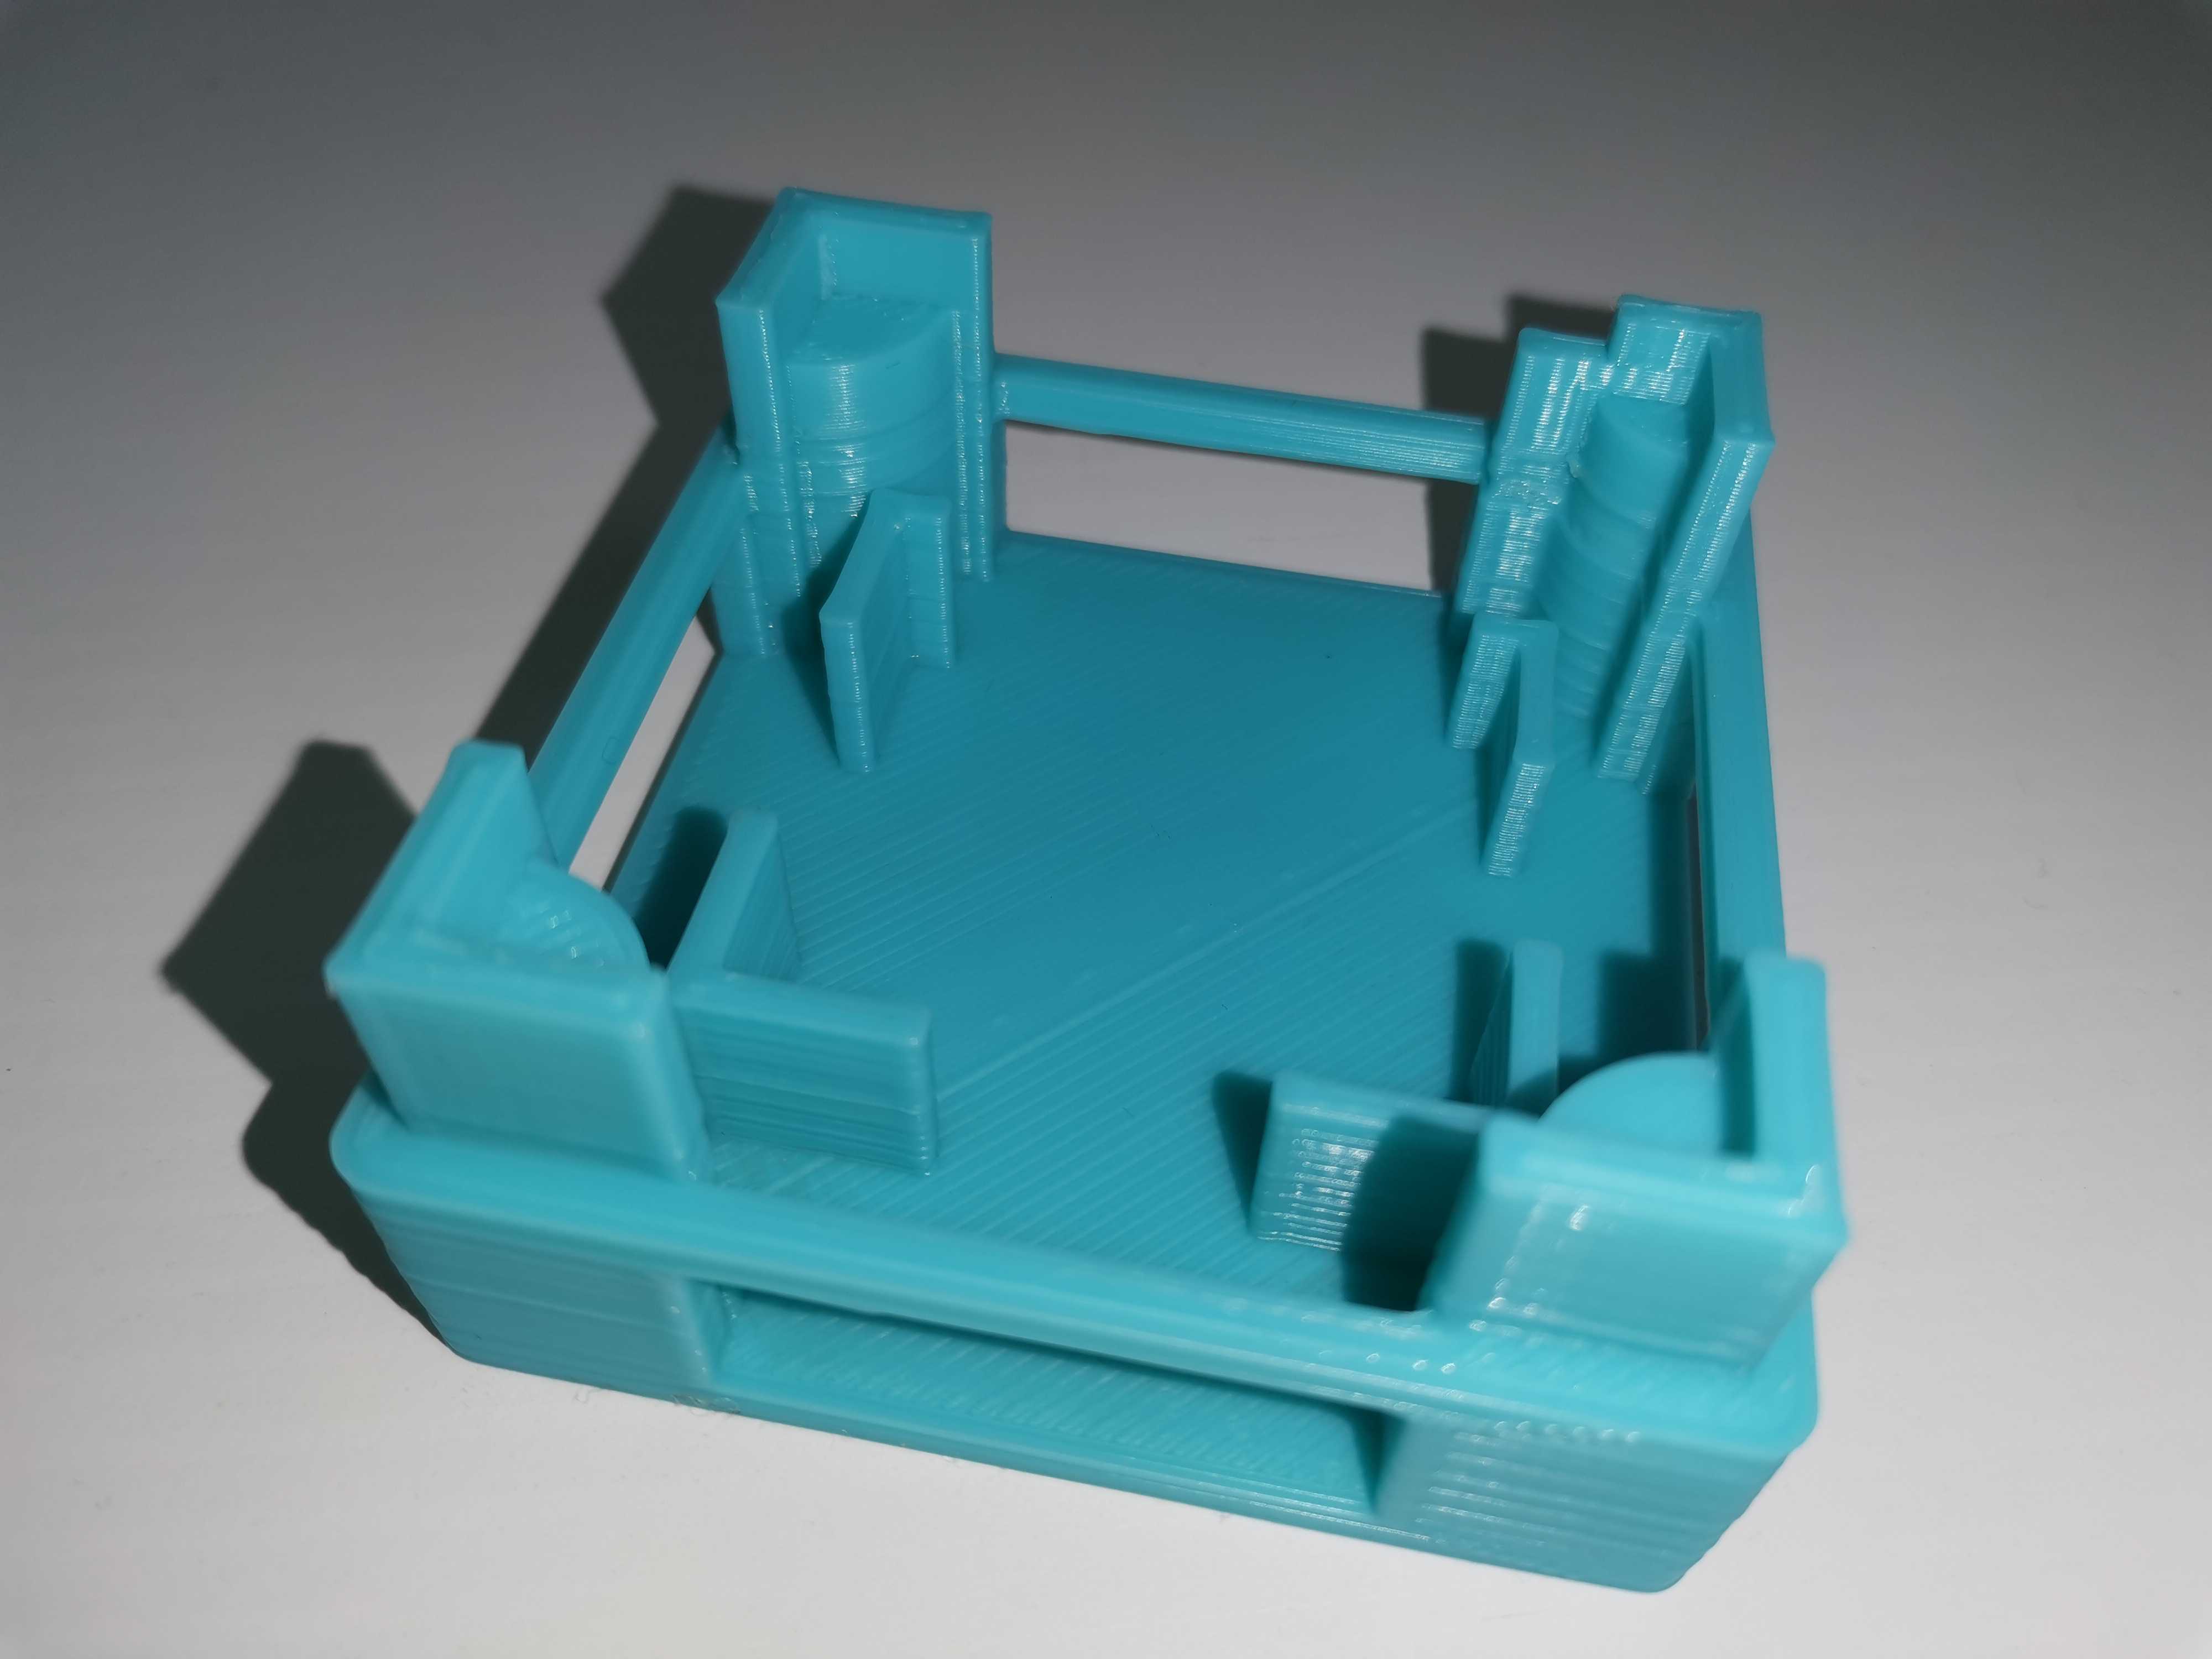
Now that you have printed the bottom of the Boxy, it is time to use it to place the sensor inside.

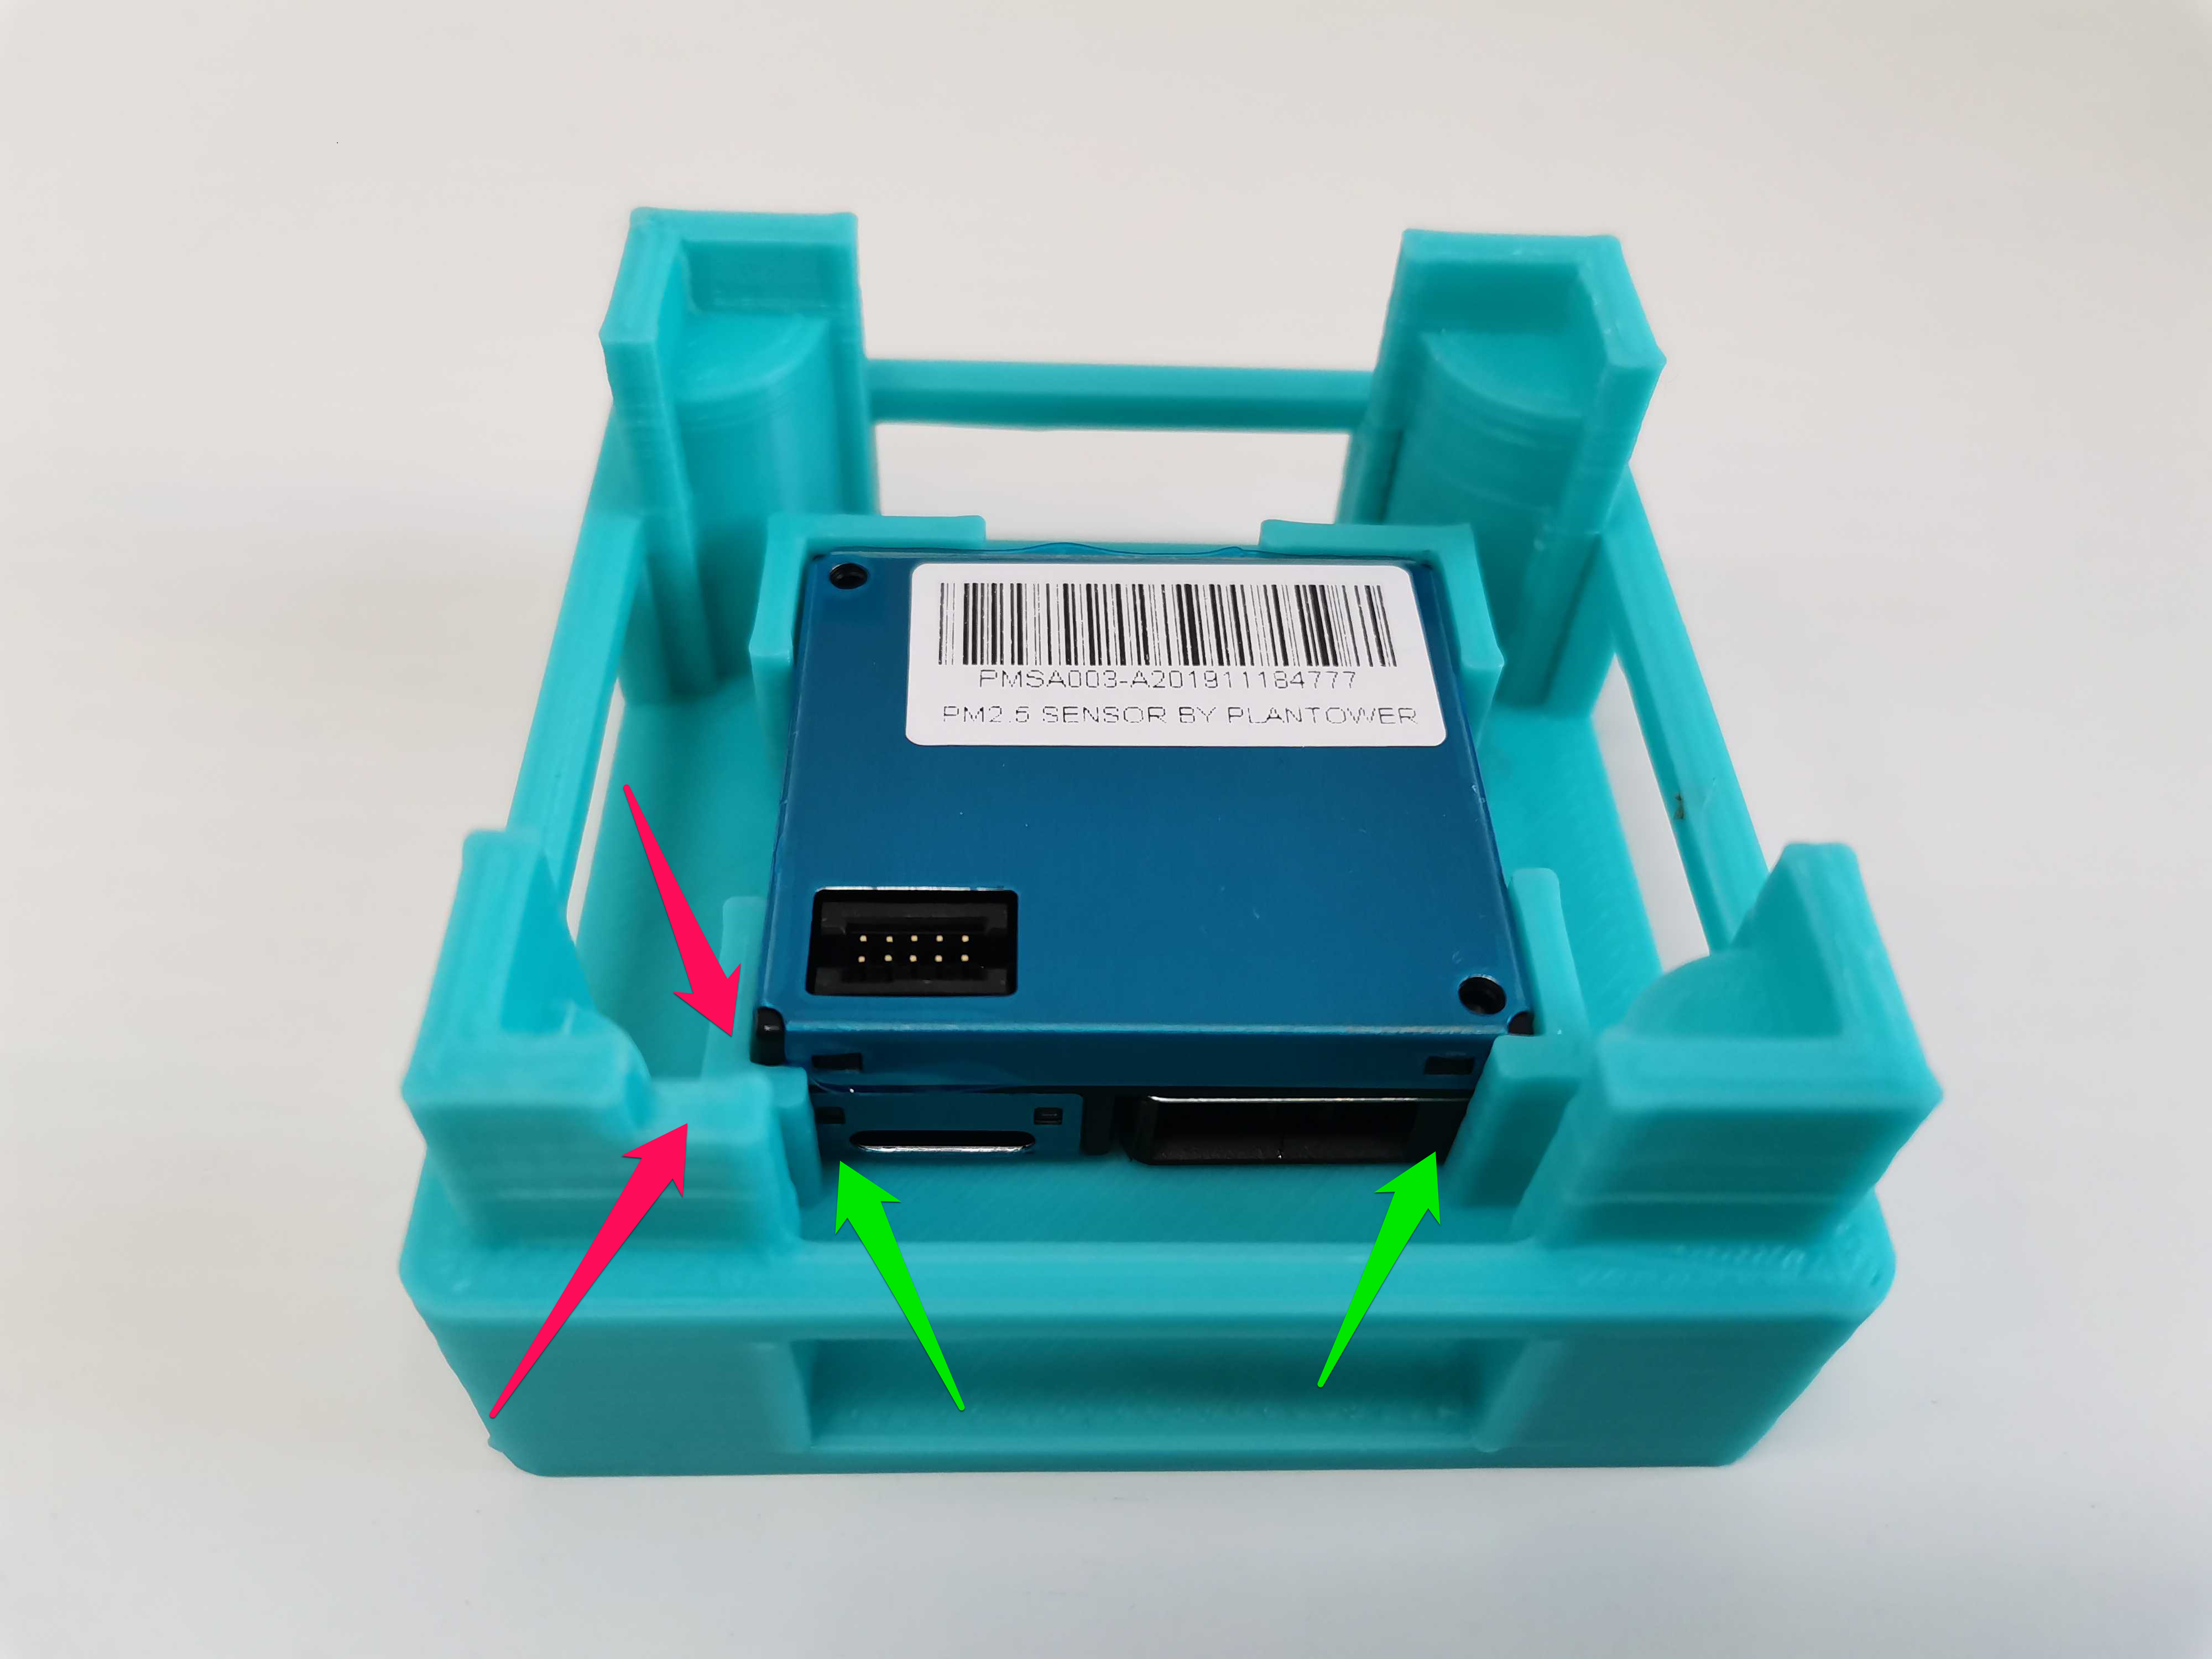
The first step is to place inside PMSA003 sensor. PM adapter needs to be on the corner that is the shortest (red arrows) and intake of the PM sensor should be on the widest side of its holder (green arrows).

Pay attention to place it as it is shown in the photo below, otherwise, you will have trouble taking it out.
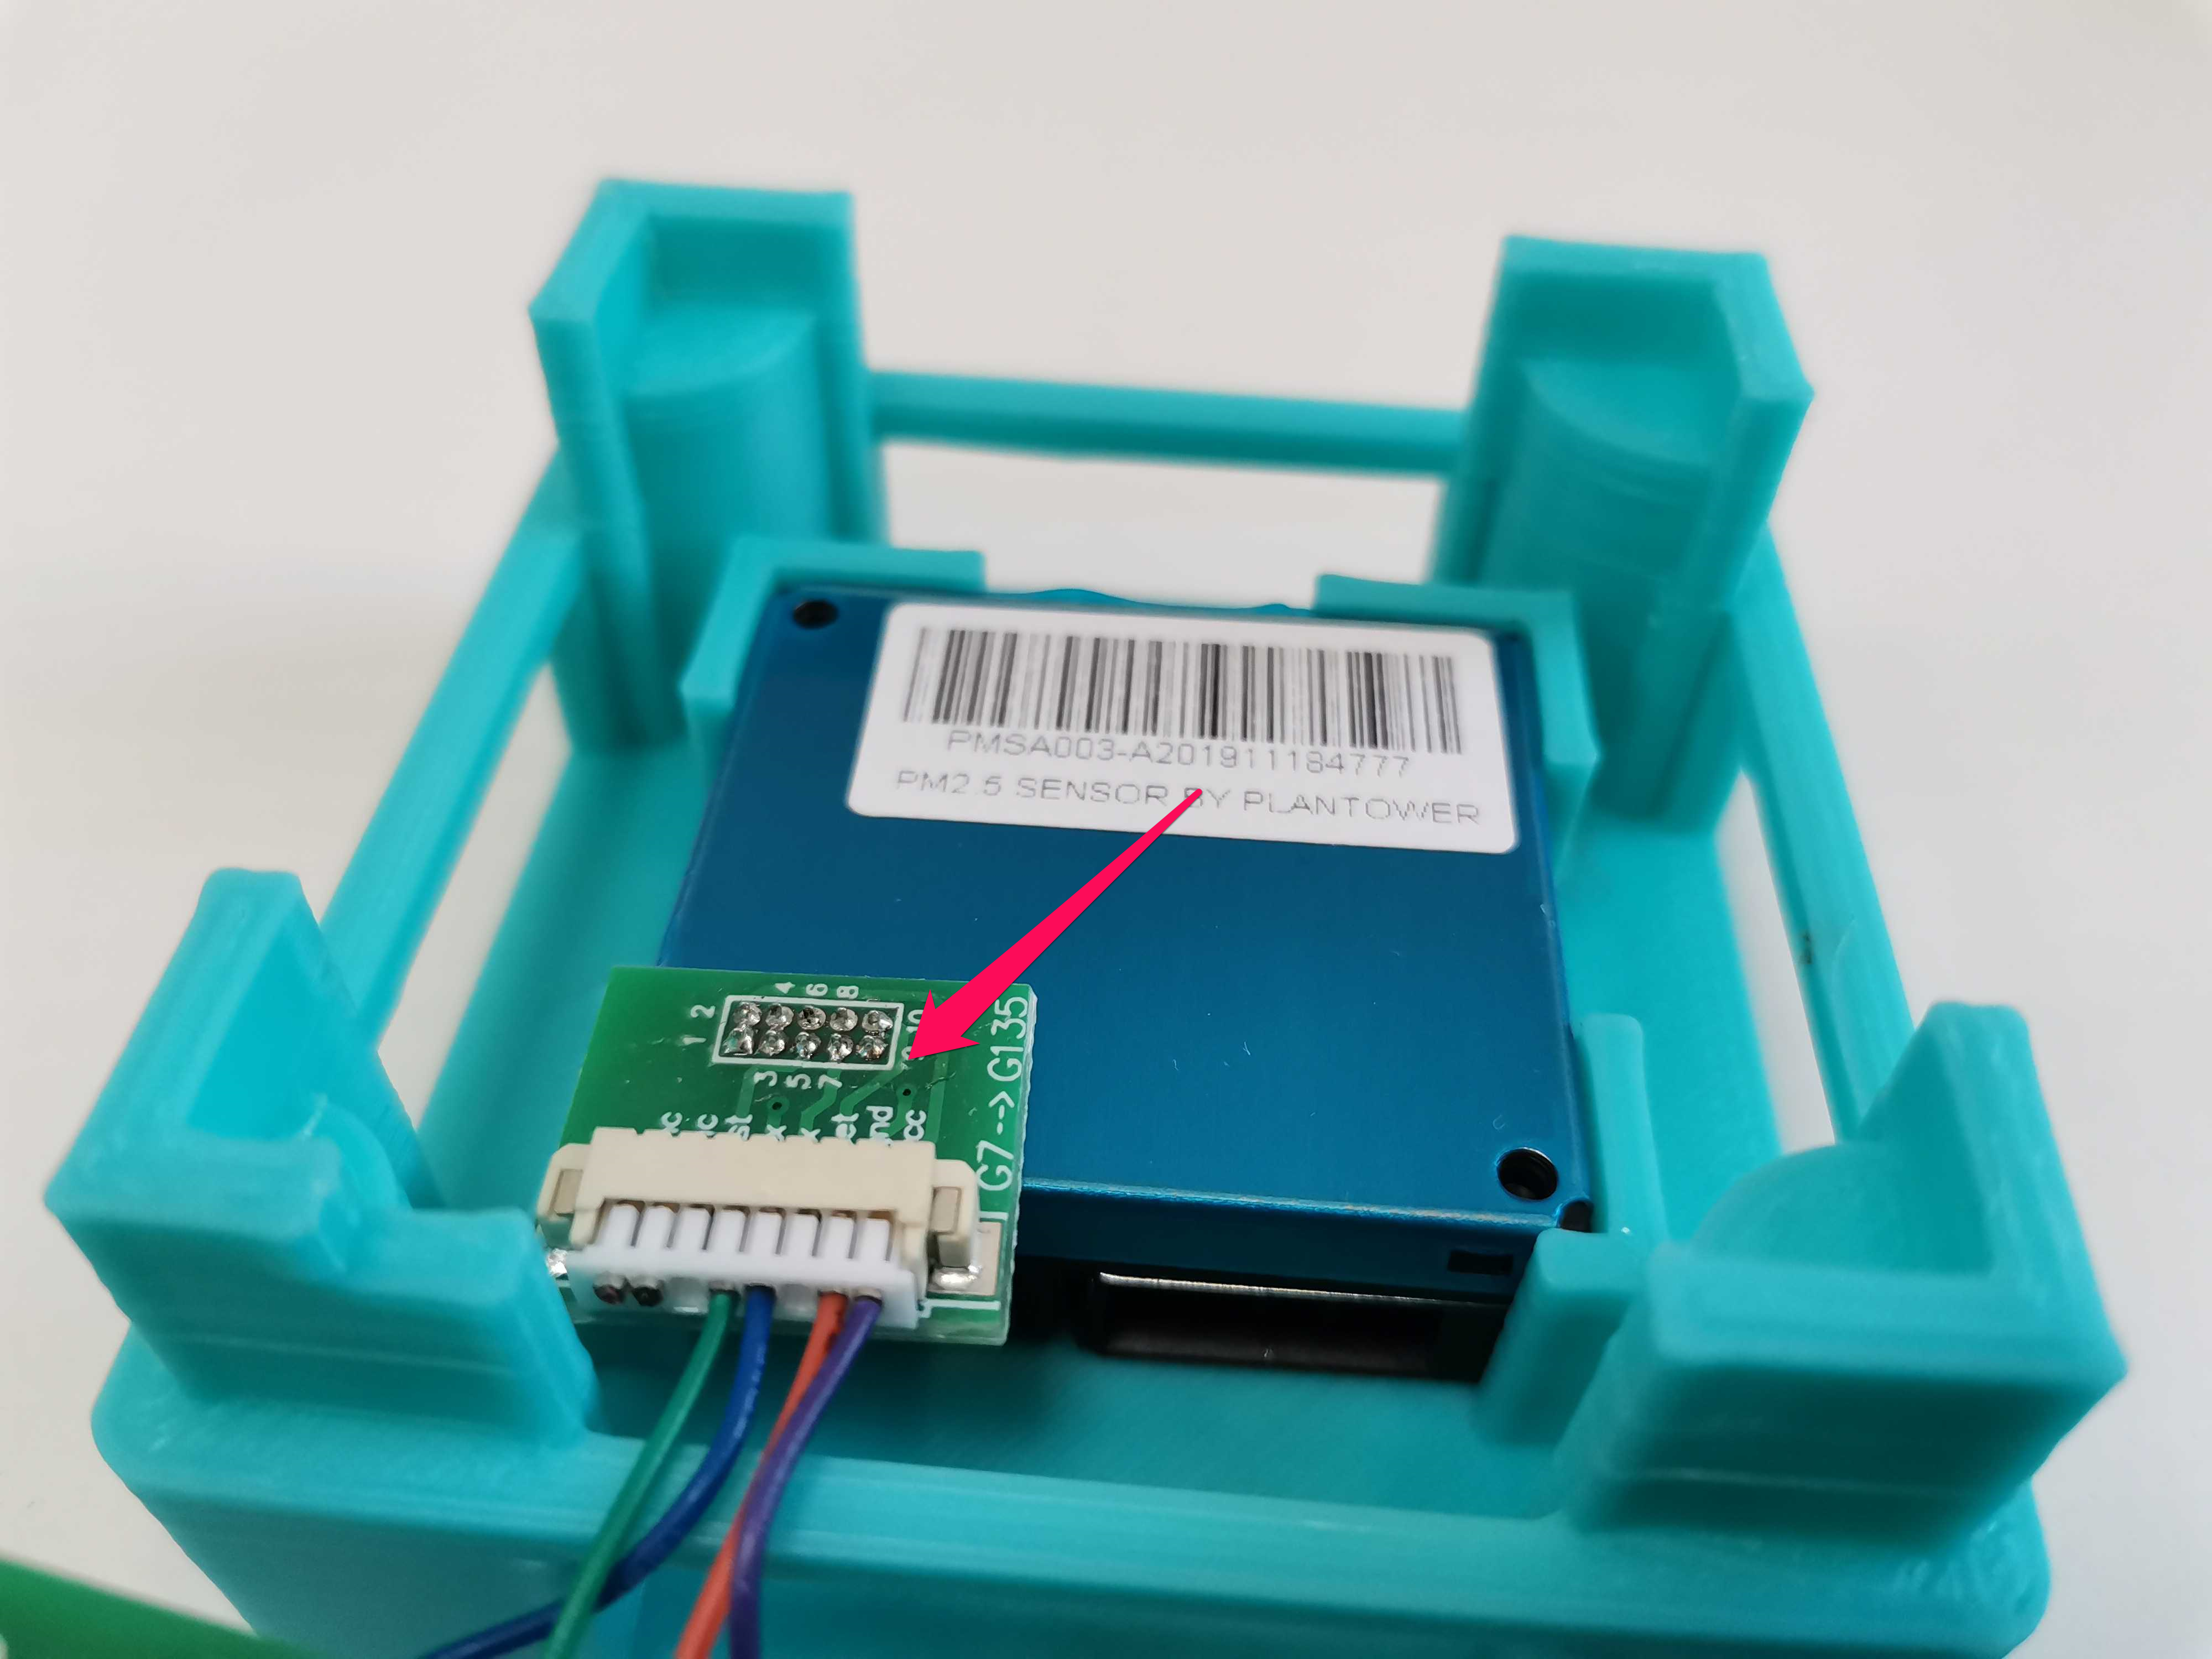
The next step is to connect the PMSA003 sensor and PM adapter.
Do it as it is shown in the picture below. Wires need to be from the side that is shown bellow.

Updated almost 6 years ago
What’s Next
